
The complete guide
A Buyer's Guide To Tile Insert Linear Shower Drains
Why people choose a linear drain
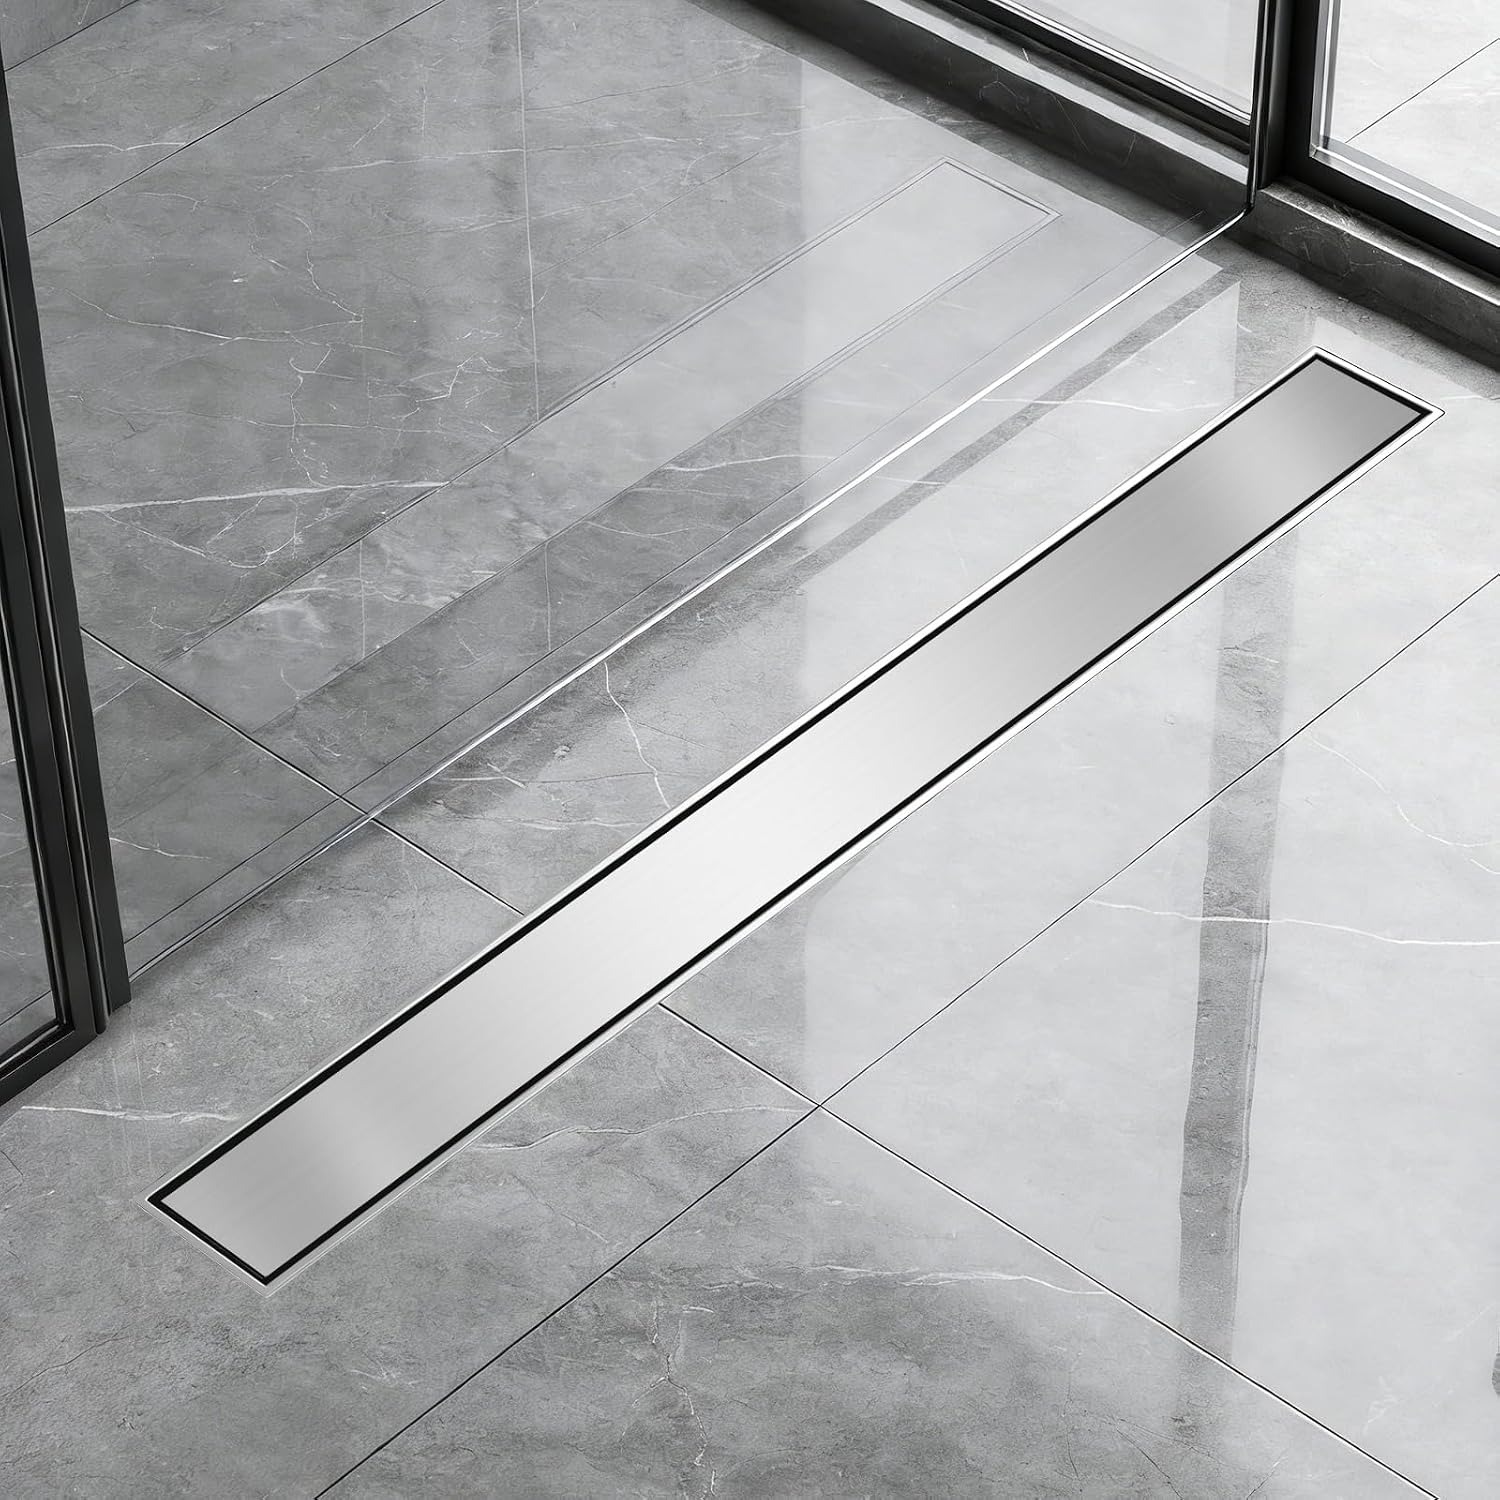
Walk into a recently finished bathroom and there is a good chance the shower has no tray. The floor tiles simply carry on into the shower area, with a sheet of glass to keep the splashes in. It looks clean, it is easy to step into, and it suits anyone who finds a high tray edge awkward.
That kind of shower depends on its drain. An ordinary square drain sits in the middle of the floor, and the floor has to fall towards it from all four sides. With small mosaic tiles that works. With the large tiles most people now choose, it means cutting every tile along diagonal lines to form a shallow funnel.
A linear drain avoids that. It is a long channel, usually set along one edge. The floor falls in one direction only, like a very gentle ramp. Large tiles can be laid whole, and the grout lines stay straight.
How a linear drain works
The parts are simple. There is a long, shallow body that sits in the floor. Water runs off the tiles and into the body, either through a slotted cover or around the edges of a tiled one. Inside, the base of the channel leads the water along to an outlet. Under the outlet there is a trap, which holds a water seal or a mechanical seal to keep drain smells out of the room. From the trap, a waste pipe carries the water away.
Everything visible is the cover. Everything that does the work is underneath it. That is why a linear drain has to be chosen early in a bathroom project and not at the end. The floor is built around it.
What is in this kit
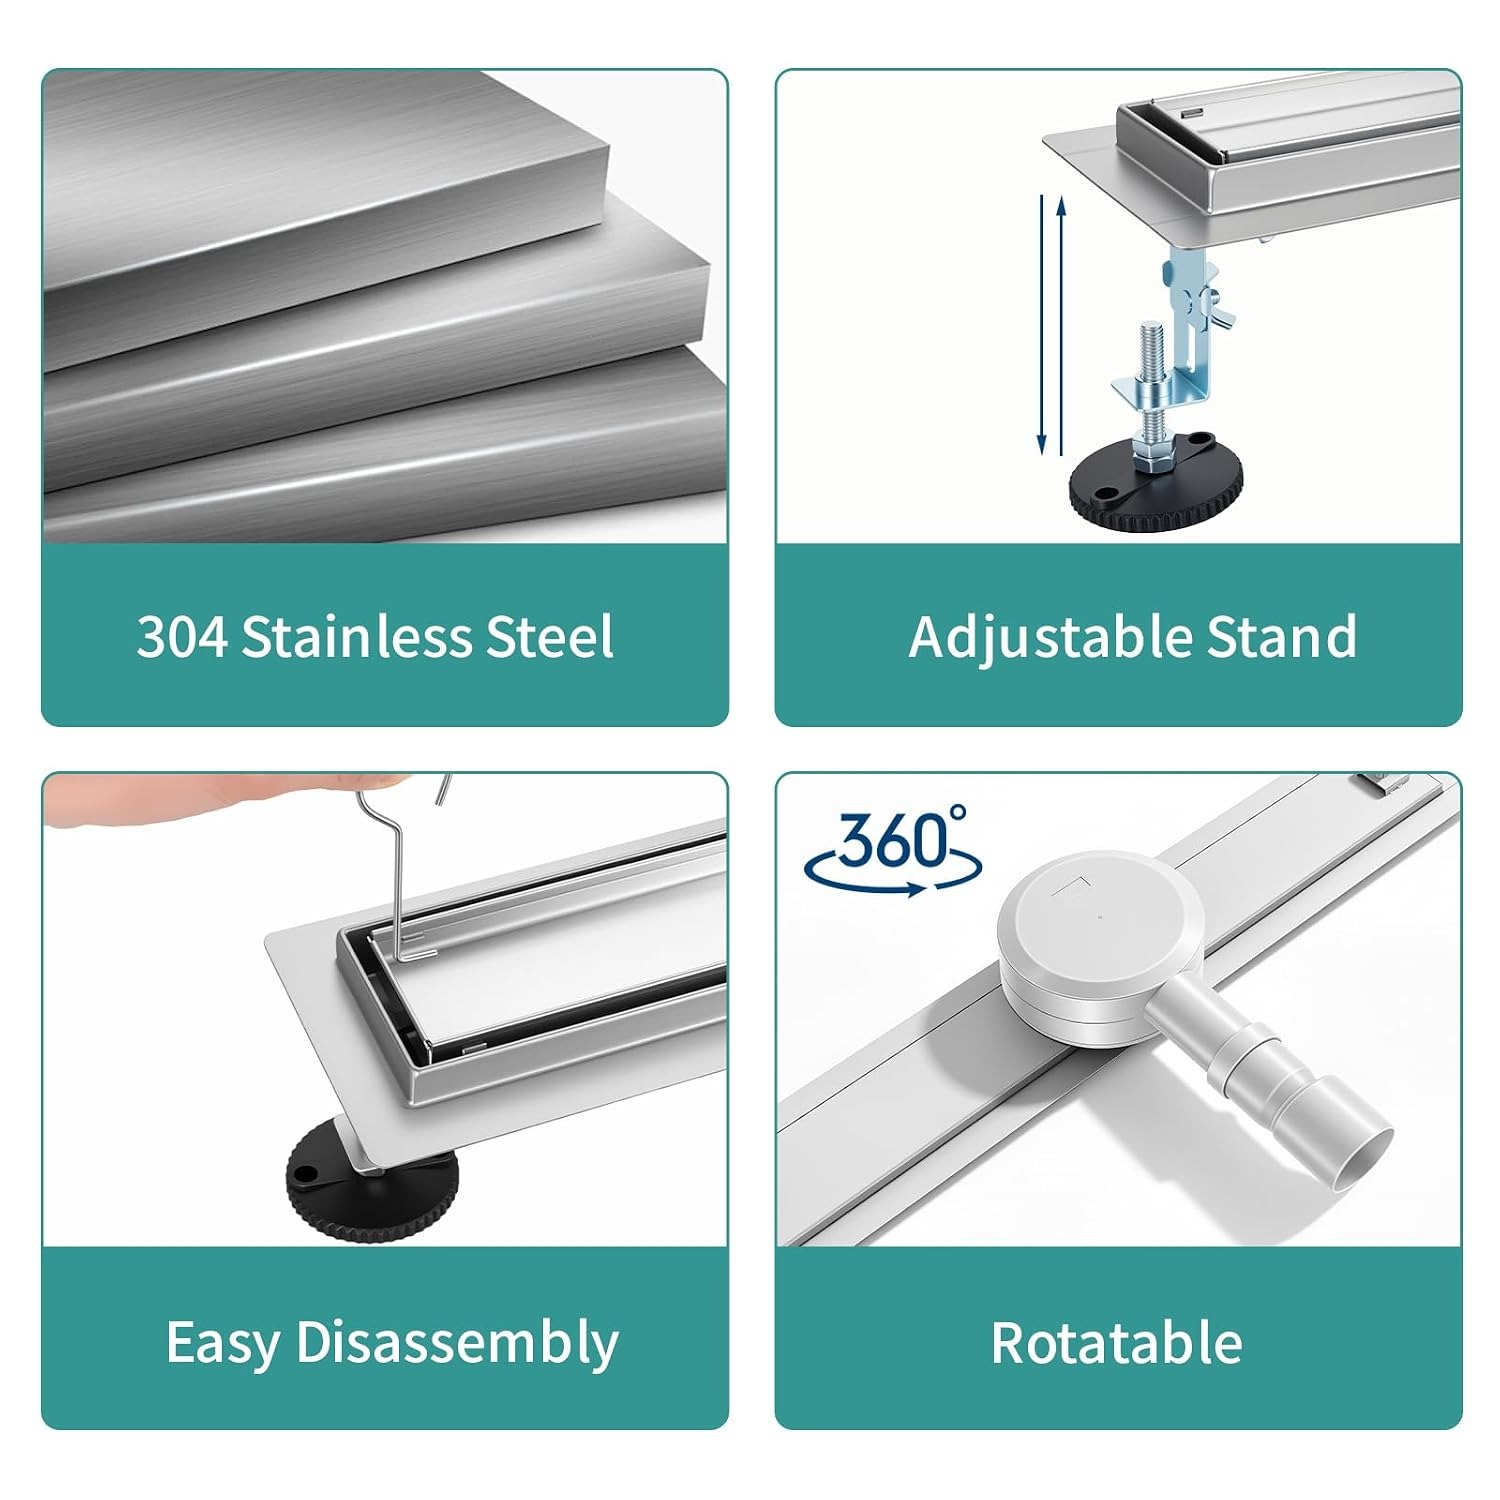
This drain is 600mm long, and the maker lists its height as 7 cm. The maker states that it is made from 304 stainless steel, a grade widely used for bathroom fittings, and lists the colour as chrome.
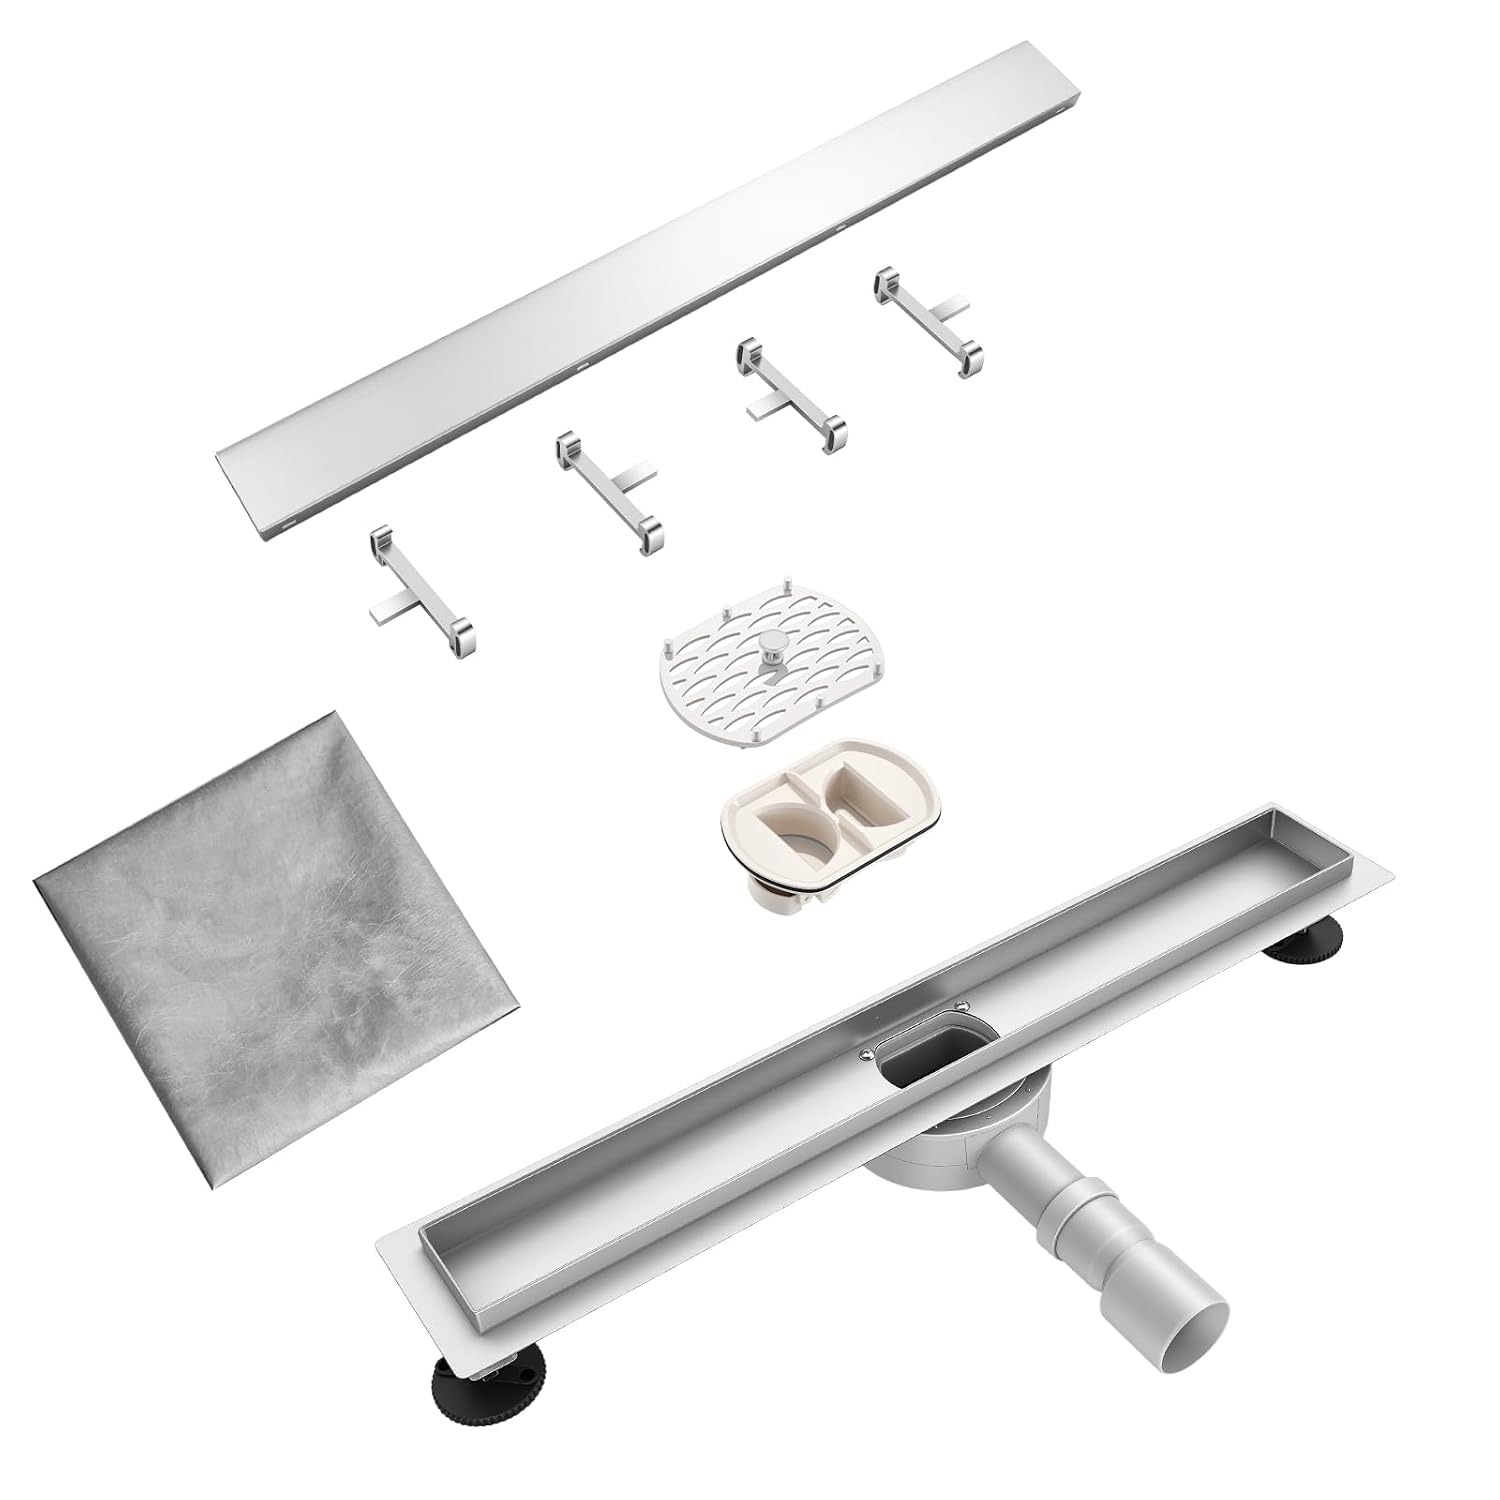
The kit, as the maker lists it, is made up of the following: the 60 cm drain body, a set of adjustable feet, a siphon trap that rotates through 360 degrees, a removable cover, a hair strainer and a lifting hook.
The channel has what the maker calls a deep V-slope. In plain terms, the base is shaped as a V that falls towards the outlet, so water is led to the trap and not left sitting on a flat base.
The adjustable feet are there for the installer. They let the body be set level and at the right height before the screed or the floor build-up goes in around it.
Brushed face or tile insert
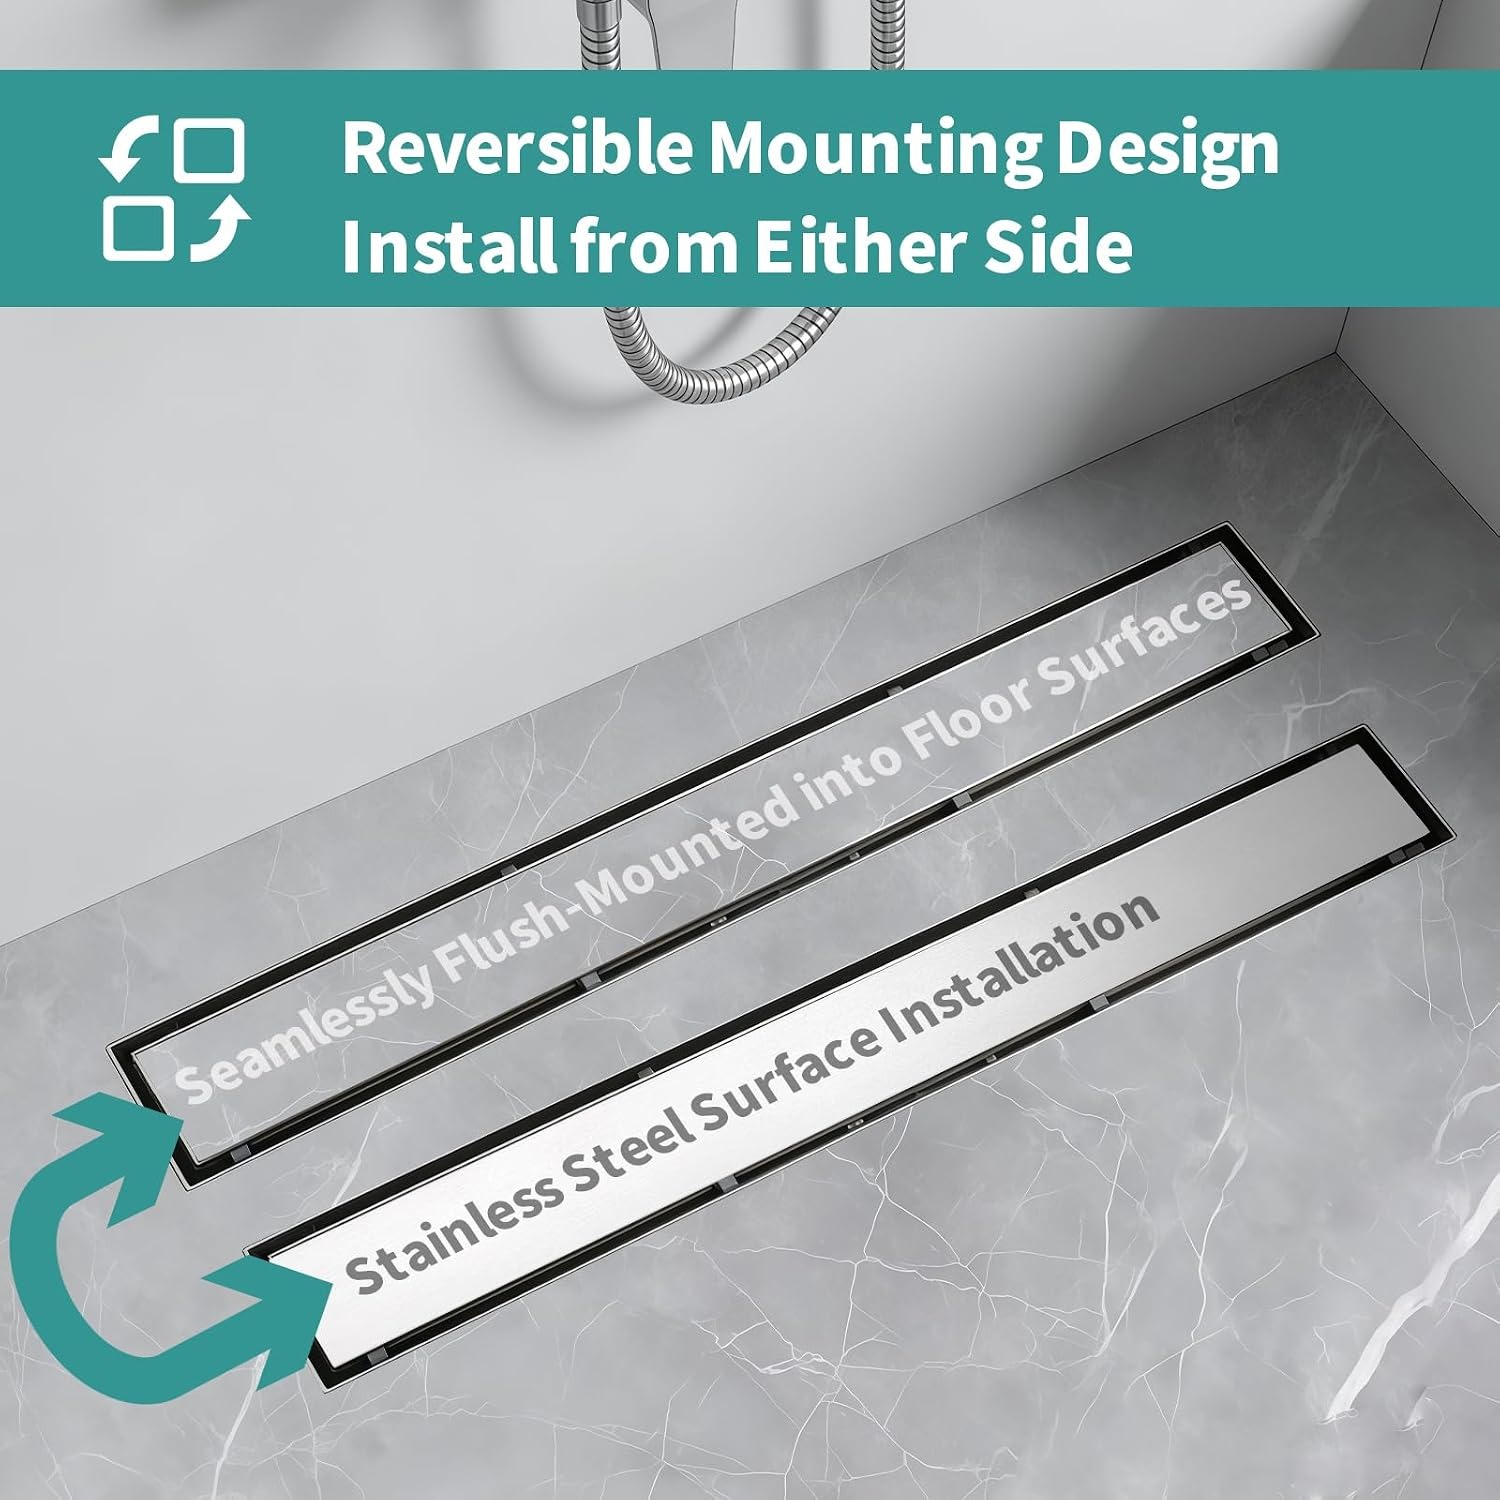
The cover is reversible, and the choice is a matter of taste.
Face up one way, it is a strip of brushed stainless steel. It reads as a deliberate metal line in the floor. Some people like that, especially where the taps and the shower fittings are also metal.
Turned over, the cover is a shallow tray. Your tiler cuts a strip from the same tile as the floor and fixes it into the tray. Once the cover is dropped back in, the drain almost disappears. All you see is a narrow slot around the edge of the tile, where the water runs in.
A tiled cover sits flush and has nothing to hold, which is what the lifting hook is for. It catches the edge of the cover so you can raise it for cleaning. Keep the hook somewhere you will find it again.
One caution on the tile insert. The maker does not state what thickness of tile the tray will take. Your tiler should measure the tray depth and allow for adhesive. If you have chosen a thick stone tile, check this before anything is cut.
The trap and the odour stopper
Two features under the cover are worth understanding.
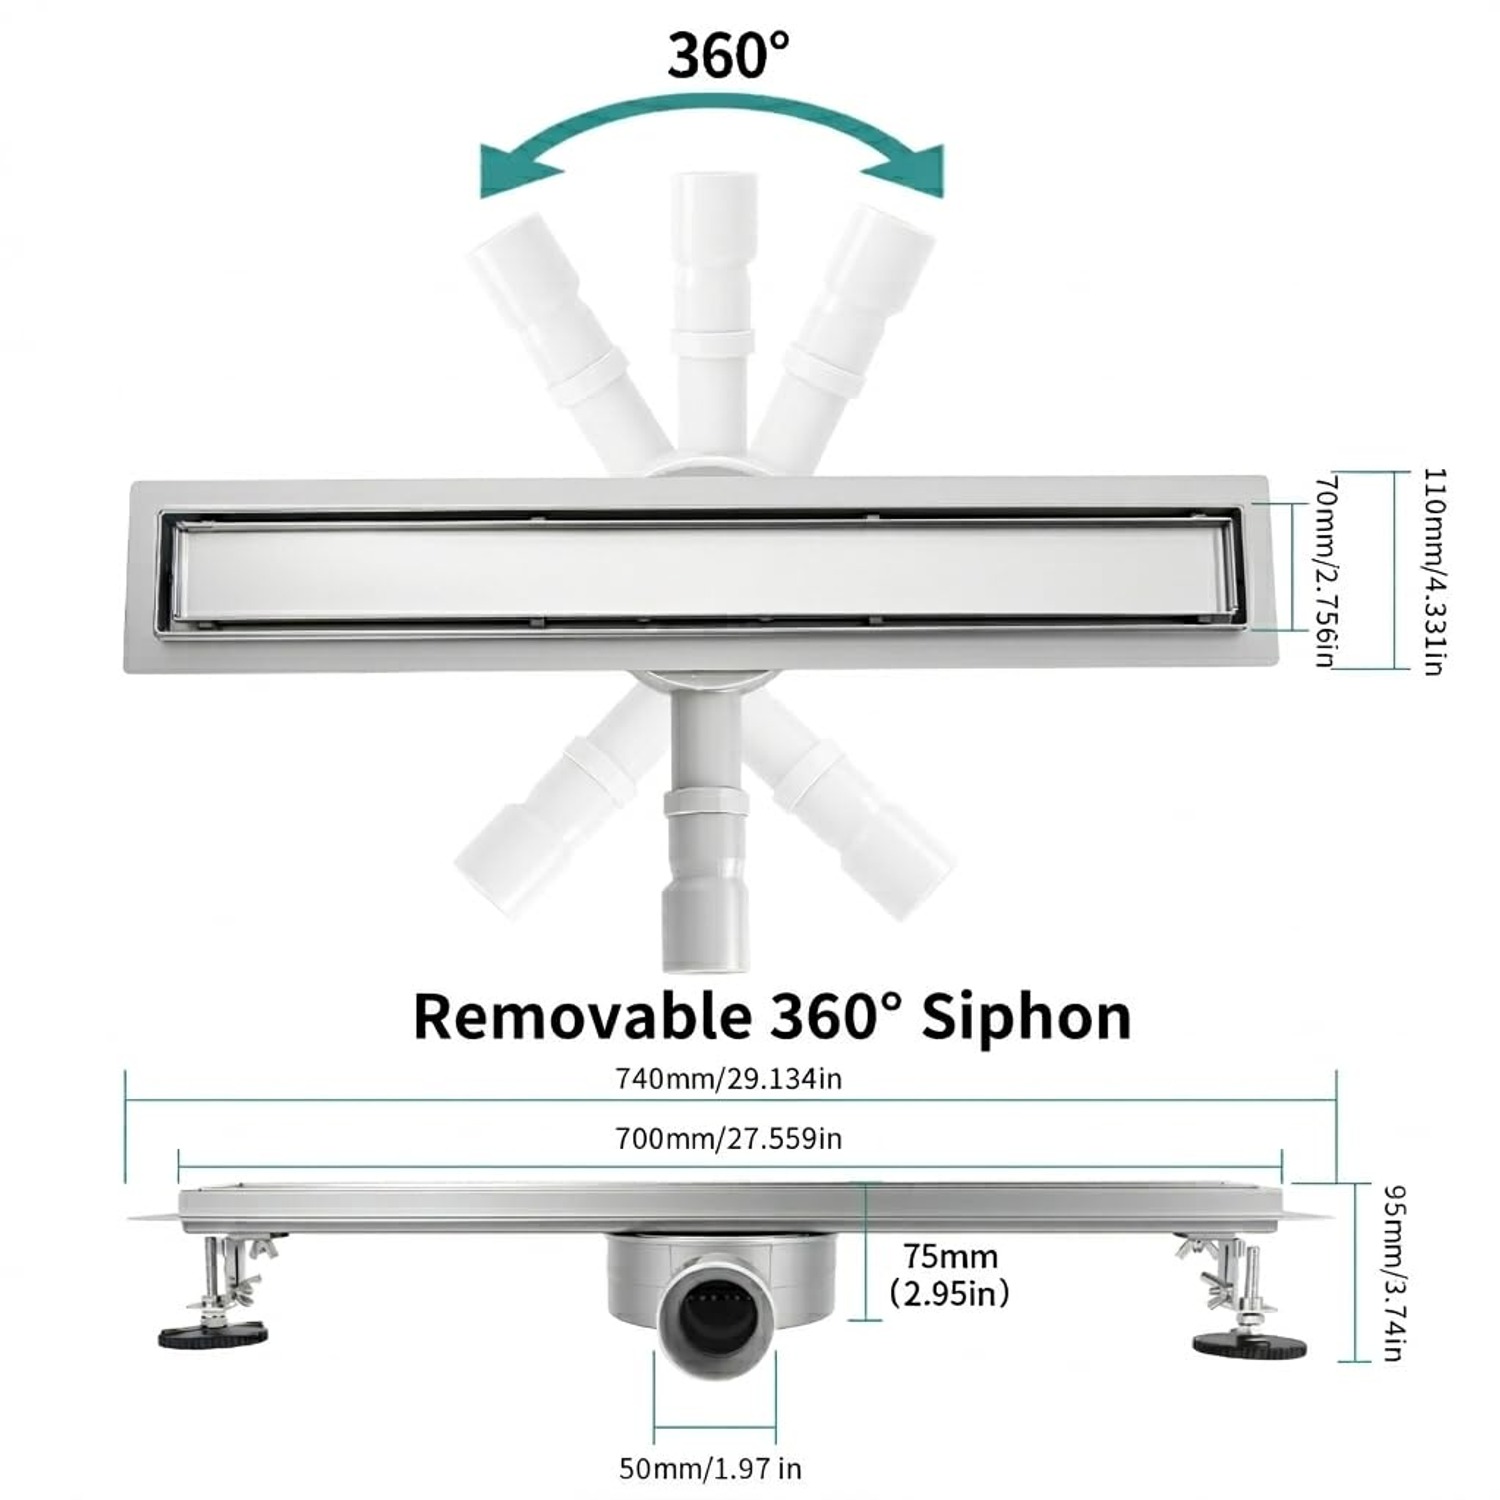
The first is the rotating trap. The maker describes a siphon that turns through 360 degrees. In a new build, the waste pipe can be put wherever the drain needs it. In a renovation, the pipe is usually where it has always been. A trap that can be turned to face the pipe saves the plumber from adding extra bends, and every bend avoided is one less place for hair to catch.
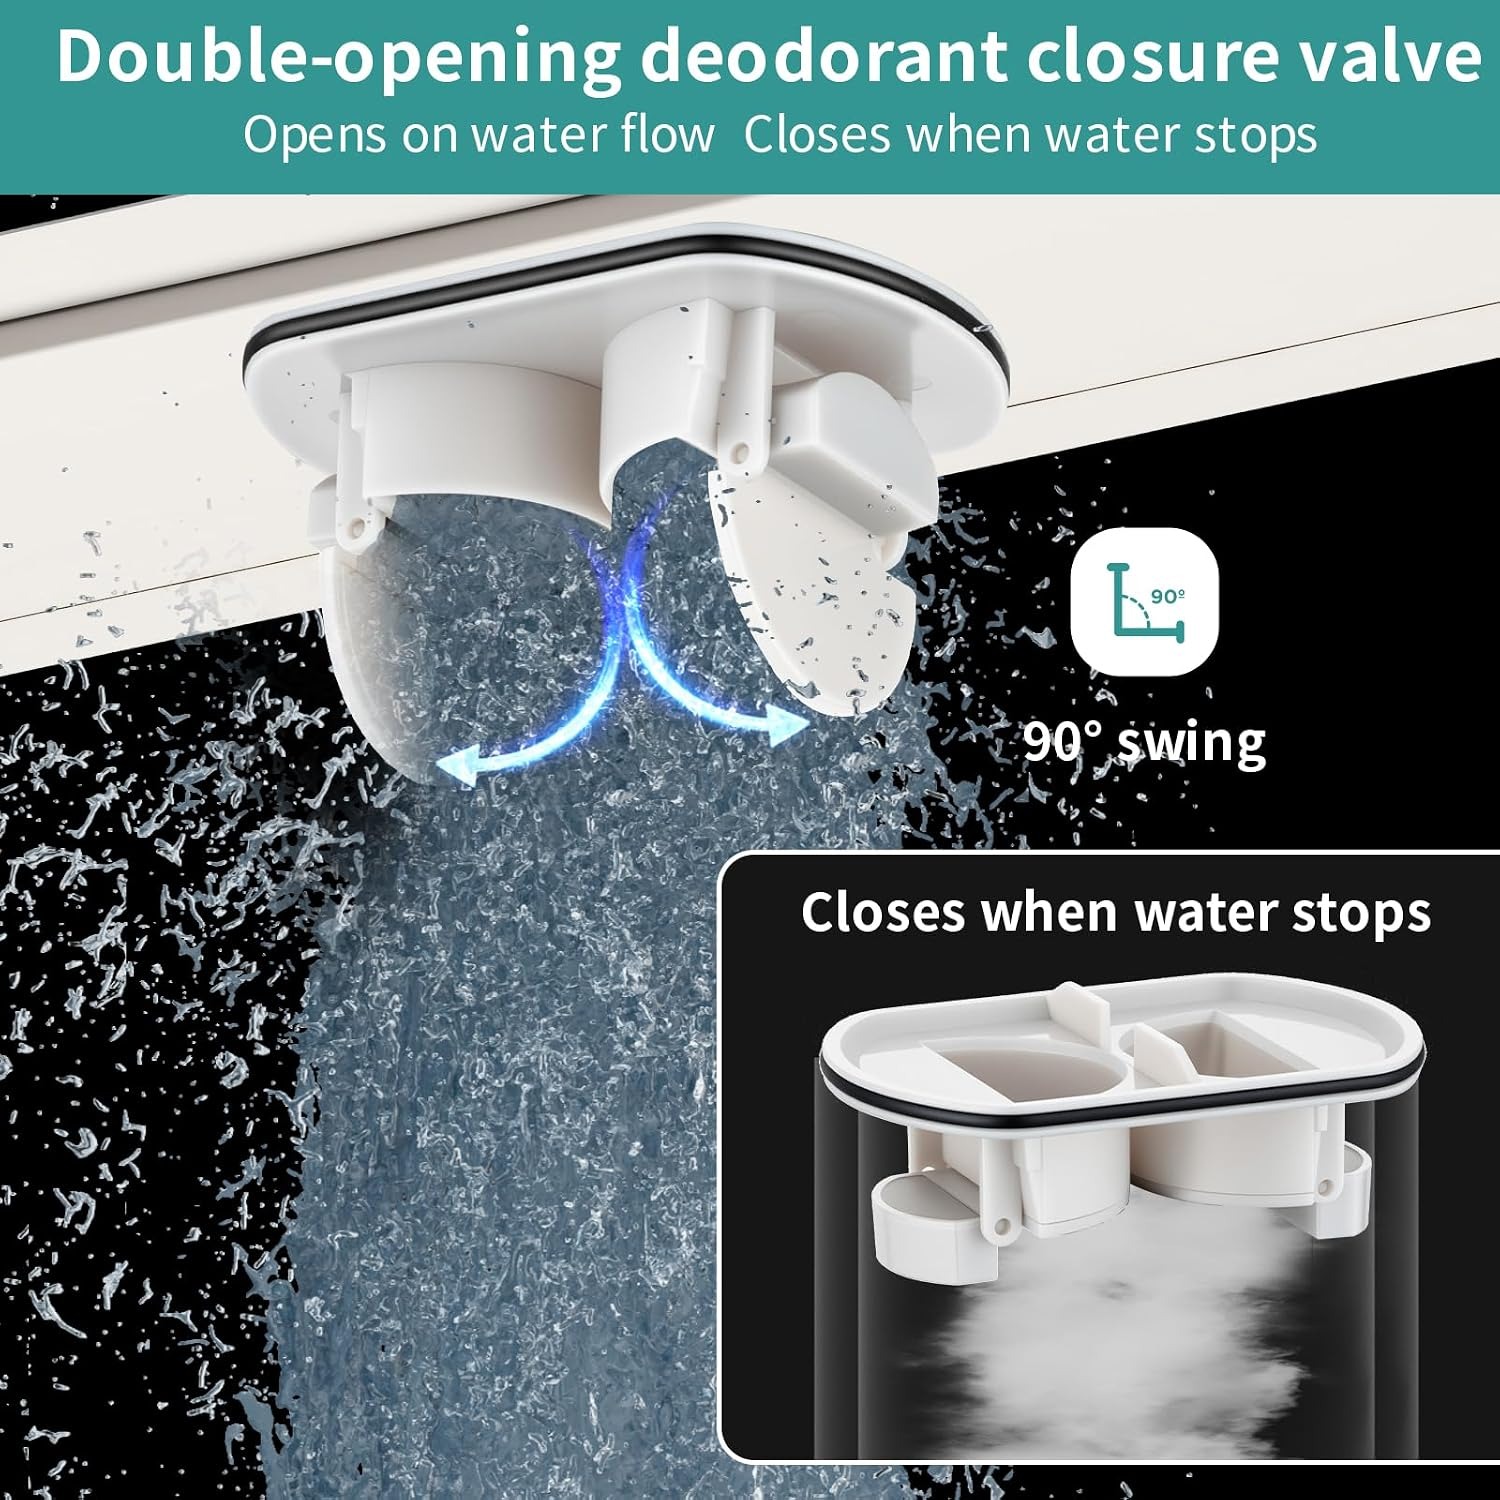
The second is the odour stopper. The maker describes it as a dual-opening gravity odour stopper. It opens under the weight of water while the shower is running, and closes again once the water has gone. Its job is to stop smells from the waste pipe coming back into the bathroom. A shower that is not used for weeks at a time, in a guest room for example, can lose the water in an ordinary trap to evaporation. A stopper that closes by itself is a help in that situation.
Under the cover there is also a hair strainer. Hair is what blocks showers. A strainer you can lift out and empty keeps most of it from ever reaching the trap.
Figures to check before you buy
A drain is not a purchase to make on looks alone. Several figures matter to the people fitting it, and some of them are not stated by the maker.
The outlet pipe size is not stated. Your plumber will need to connect the trap to the waste pipe on site, and may need an adaptor.
The flow rate is not stated. If you are planning a large overhead shower or several outlets running at once, ask your plumber to judge whether a single 600mm drain is enough for the water going in.
The channel width is not stated, and neither is the range of the adjustable feet or the weight.
What is stated is the length, 600mm, and the height, 7 cm. That height matters. The floor needs enough depth to take the drain body and trap, with a fall on the waste pipe beyond it. In an upstairs bathroom with timber joists, that can decide whether a level-access floor is possible at all.
If any of these figures would decide the purchase, ask us before you order. It is far easier to check now than after the drain is set in the floor.
Installation is a job for a plumber
We want to be direct about this. Fitting a shower drain is not a weekend job for a householder.
It means altering fixed pipework. It means setting the drain at exactly the right height, building the floor to fall towards it, and making the whole area watertight, including the joint between the waterproofing and the drain body. A mistake in any of those shows up later as a leak into the ceiling below or a floor that holds water.
Use a qualified plumber, working with your tiler. The Irish Building Regulations apply to drainage work, and your plumber will know what they require for traps, falls and ventilation of the waste pipe.
No waterproofing membrane or tanking kit is listed among the parts. That is normal. The waterproofing system is chosen to suit the floor and is supplied by the installer.
Before work starts, lay the parts out and check them against the kit list. Then hand the drain over along with the figures from this page.
Cleaning and care
Day to day, a linear drain asks for very little.
Every week or two, lift the cover with the hook, take out the hair strainer and empty it into the bin. Rinse the channel with warm water and wipe it with a soft cloth. Replace the strainer and the cover.
Stainless steel is easy to look after if you avoid a few things. Do not use wire wool or scouring powder, which scratch the brushed face. Keep bleach-based cleaners off it, as they can mark the surface. Rinse away shampoo and soap residue, and dry the visible steel now and then to prevent water spots.
We do not recommend chemical drain cleaners. If the shower drains slowly with a clean strainer, the blockage is further along the waste pipe. That is one for your plumber.
The short version
A linear drain lets a tiled shower floor fall in one direction, which suits large tiles and level-access showers.
This one is 600mm long and 7 cm high by the maker's figures, in 304 stainless steel. The cover can show a brushed metal face or carry a strip of your own tile. The trap turns through 360 degrees, there is a gravity odour stopper and a hair strainer, and the kit includes adjustable feet and a lifting hook.
The outlet pipe size, flow rate, channel width and tile thickness for the insert are not stated by the maker, so check them with us or with your installer first. Have it fitted by a qualified plumber, and empty the strainer regularly once it is in.