
The complete guide
How To Extend A Washing Machine Or Dishwasher Drain Hose
The hose that stops just short
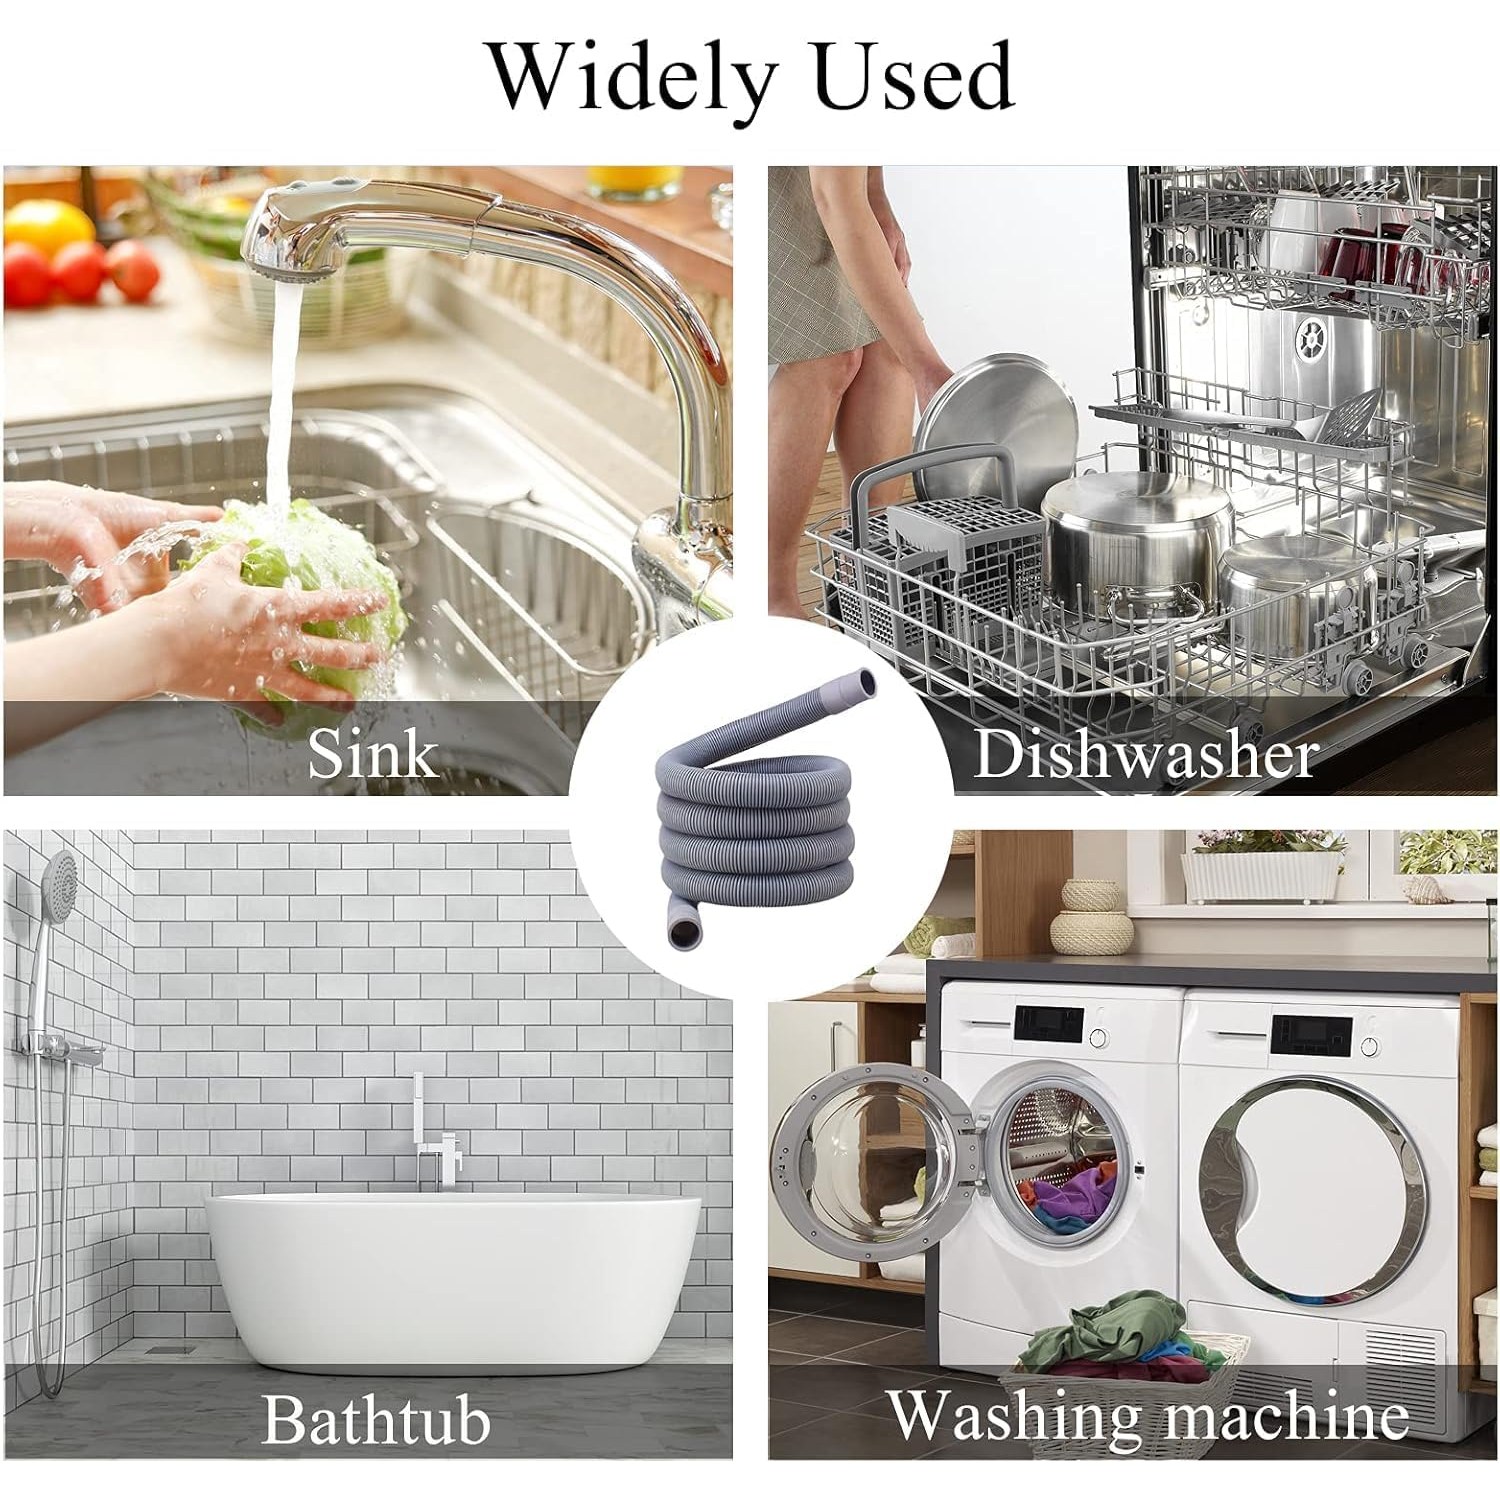
It is a familiar moment. The new washing machine is in the utility room, the delivery crew has gone, and the hose at the back reaches to about half a metre from the standpipe. Or the kitchen has been refitted and the dishwasher now sits two units away from the sink instead of beside it.
Appliance makers fit a drain hose that is long enough for the usual case, where the waste is right behind or next to the machine. They do not allow for the way real rooms are laid out. So people end up stretching the hose tight, propping the machine at an angle, or leaving it in the wrong spot because that is as far as the hose will go.
A stretched hose is a poor idea. It pulls on its fittings every time the machine shakes in a spin cycle, and one day it comes off. The proper answer is more hose, joined properly. That is what this kit provides.
What is in the kit
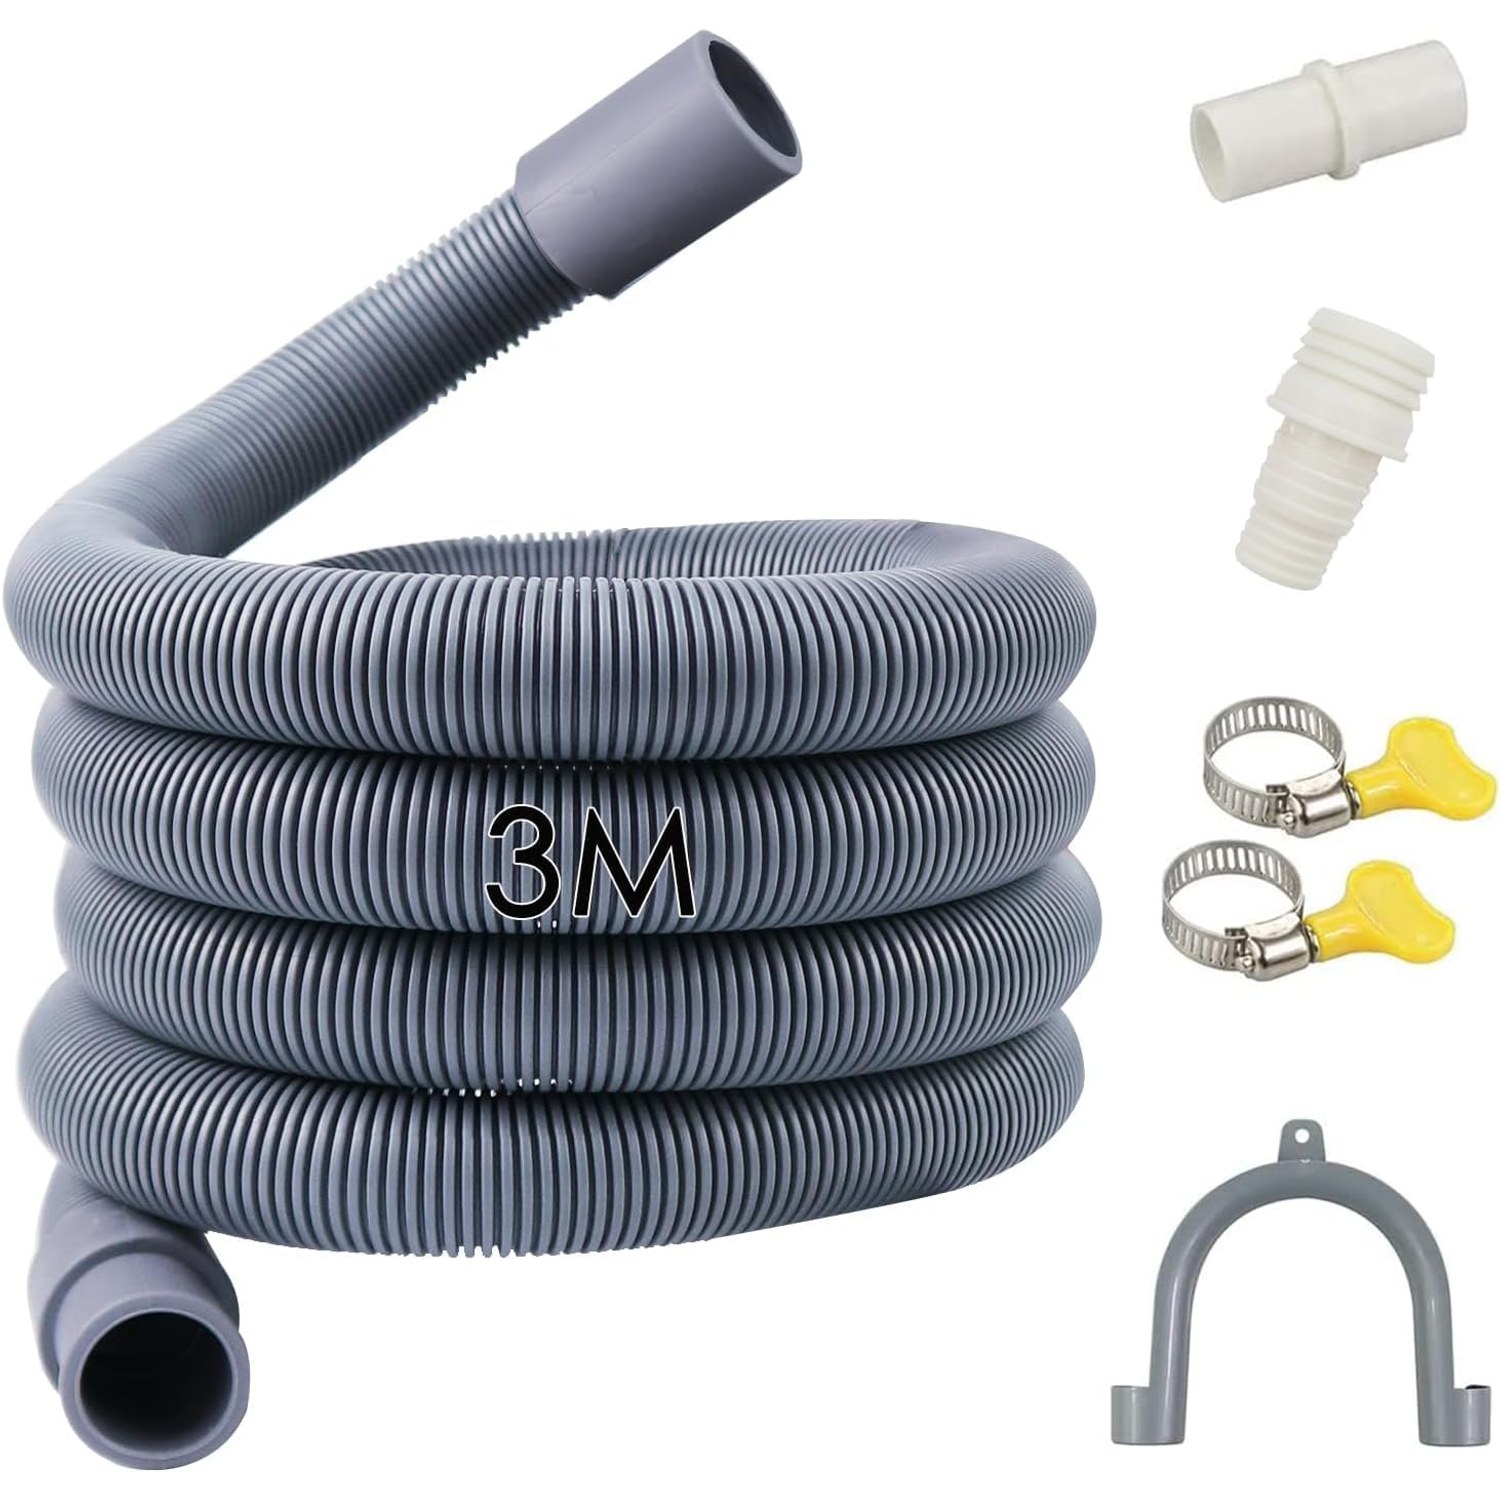
The maker gives the hose length as 3 metres. Along with the hose, the kit contains an extension connector, a 30mm adapter, a U-shaped bracket and two hose clamps.
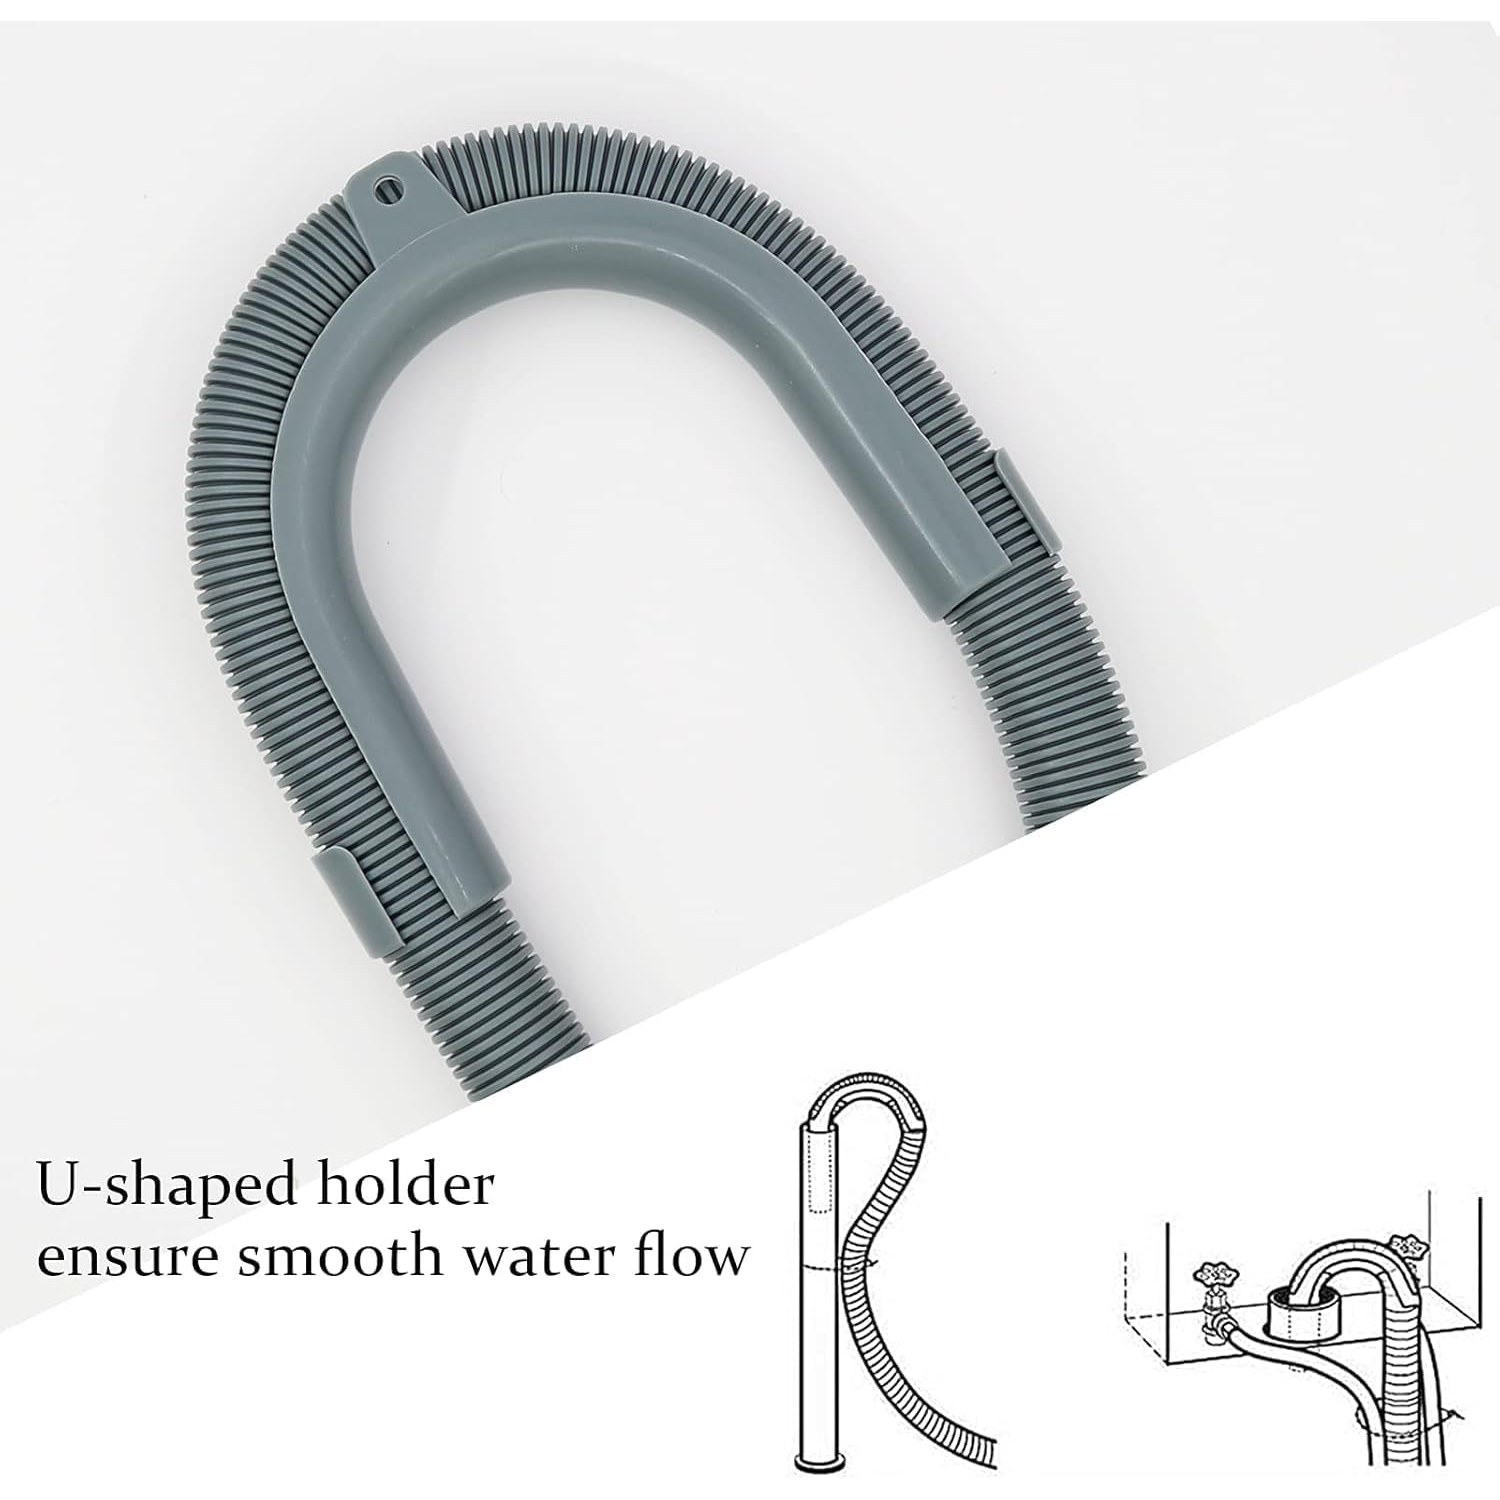
Each part has a job. The hose carries the water. The connector joins the new hose to the one already on your machine. The adapter is there for wastes that take a 30mm pipe. The bracket holds the end of the hose in a smooth curve at the waste. The clamps keep the joints together.
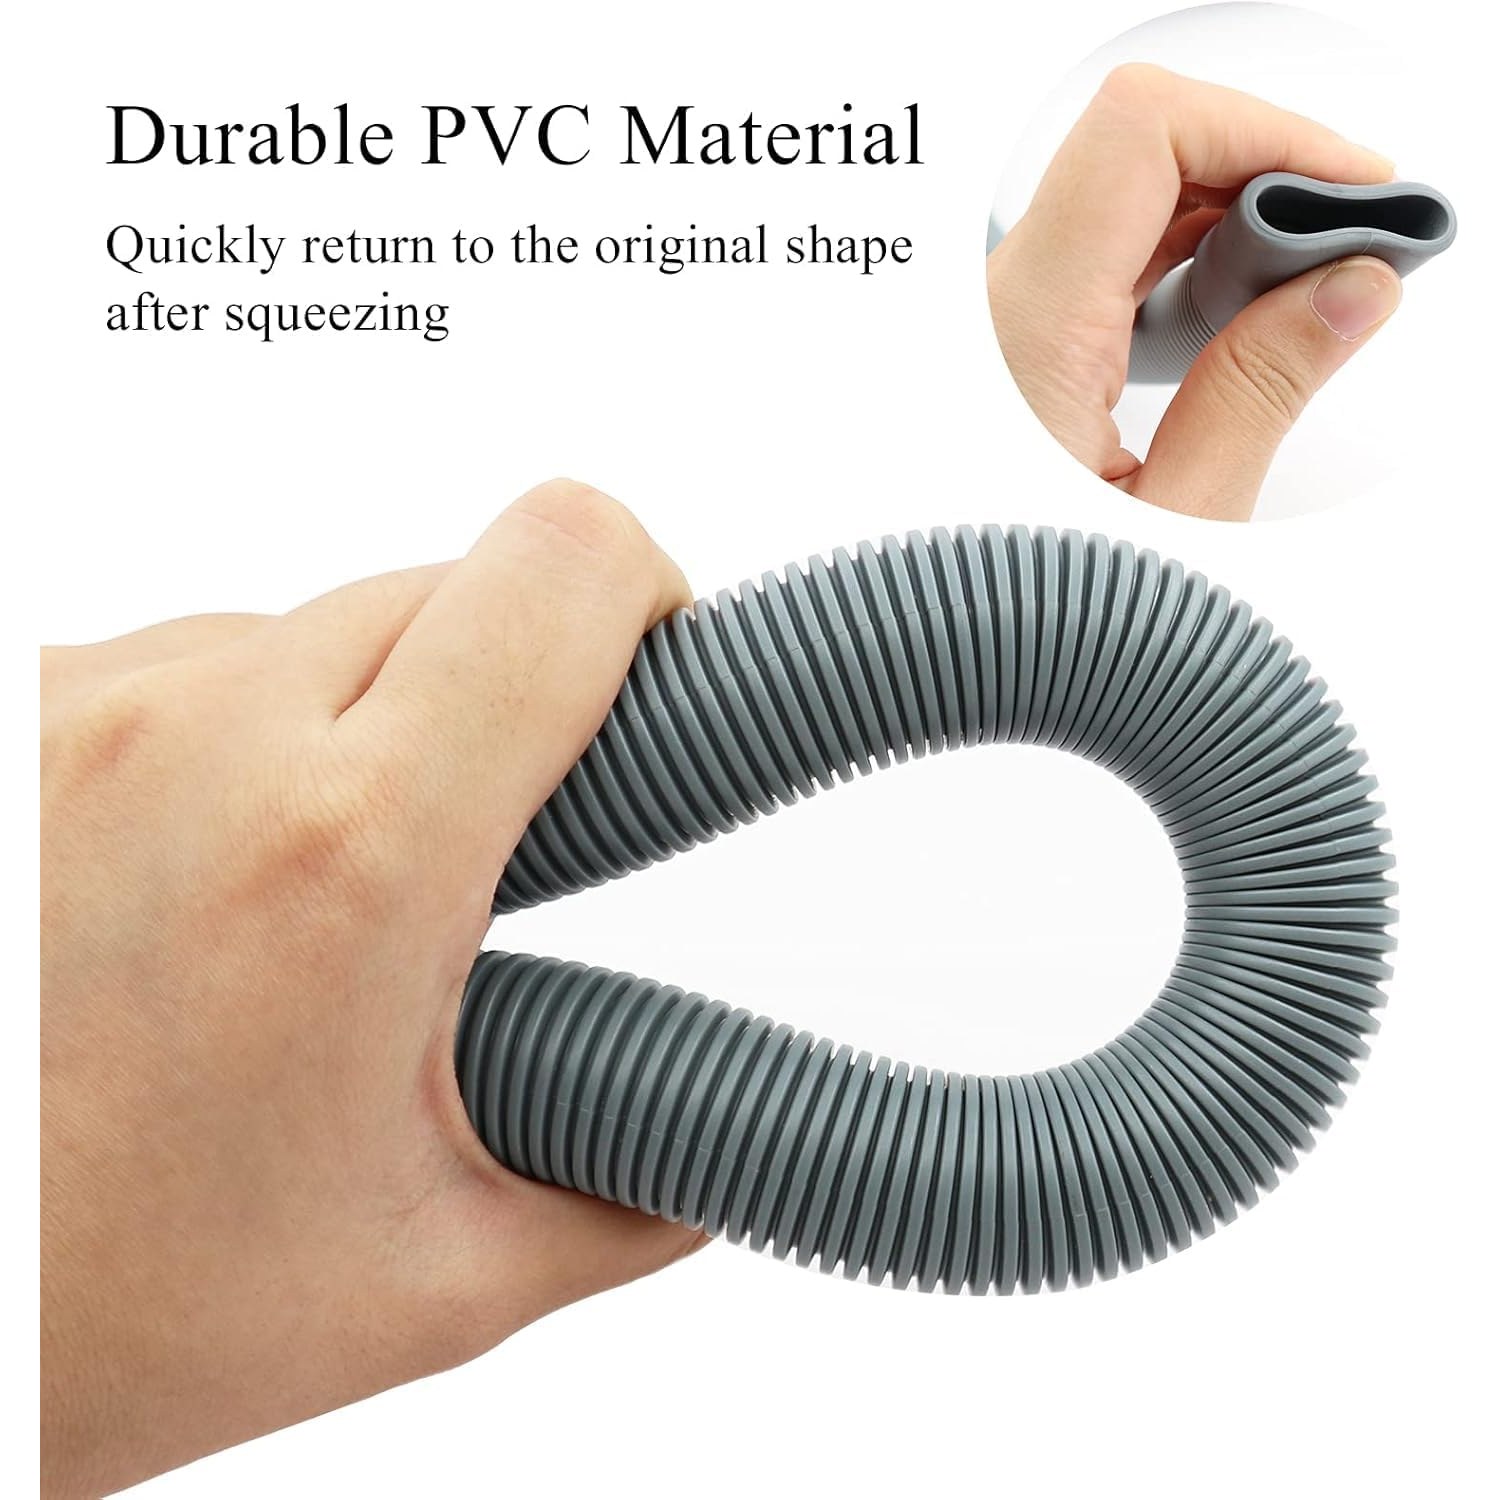
The maker says the hose is made of polypropylene, which is a plastic widely used for appliance hoses, and describes it as flexible. The nominal wall thickness is listed as 2mm, the colour as white and the weight as 0.12kg.
The sizes, and why to check them
With a drain hose, fit is everything. A joint that is slightly too loose will weep. One that is too tight will not go on at all.
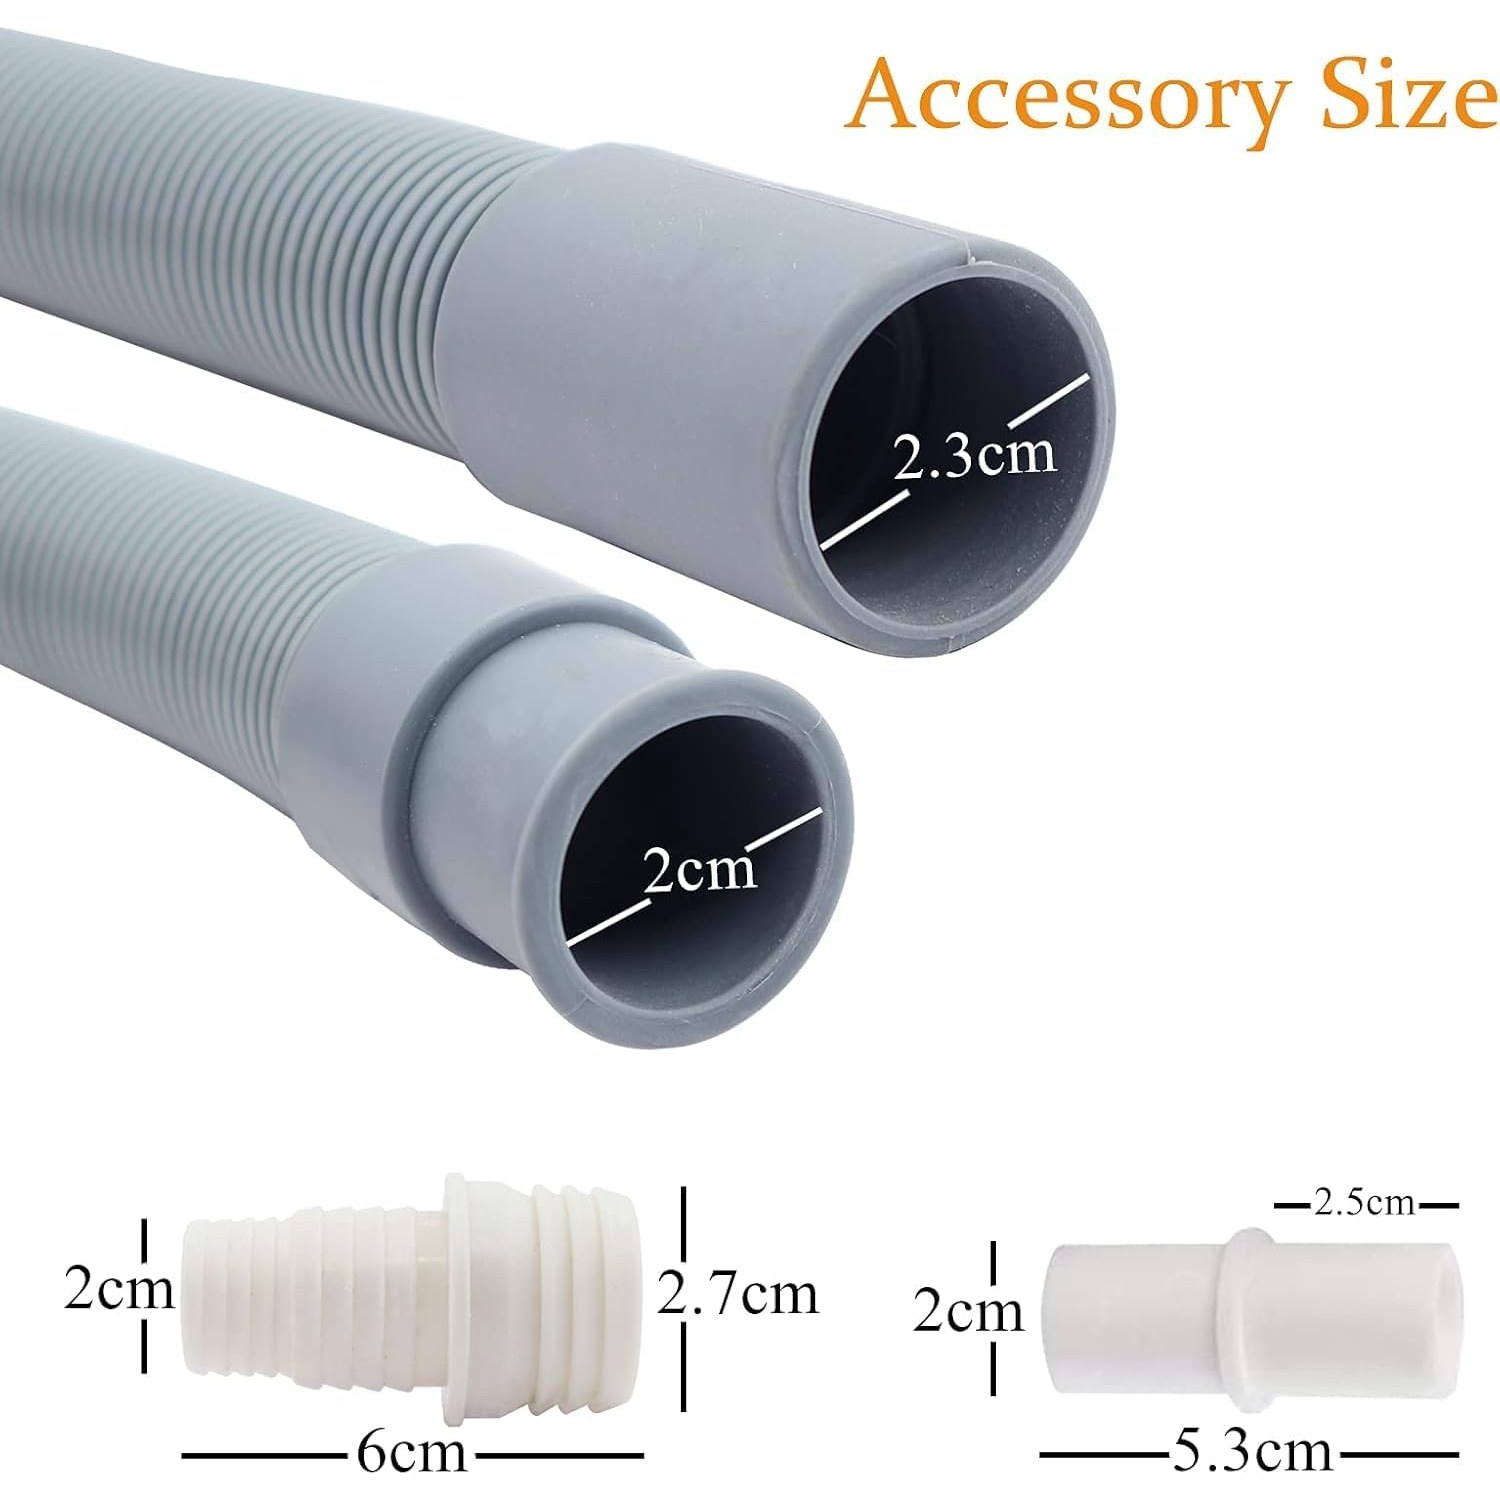
The maker states that the internal diameters of the two hose ends are 20mm and 23mm. The connector is 2.1cm in diameter and is made to fit inside a hose with a 20mm internal diameter. With the 30mm adapter fitted, the hose can be connected to a 30mm pipe, and the maker notes that the adapter is needed in that case.
Before you order, pull the end of your current drain hose out of the waste and measure across the inside of the opening. If it is close to 20mm, the connector should push in snugly. Then look at where the water is going. Measure the standpipe or the spigot on the sink trap. The maker asks buyers to confirm the size before purchasing, and five minutes with a ruler saves a return.
Extend or replace
There are two ways to use a kit like this.
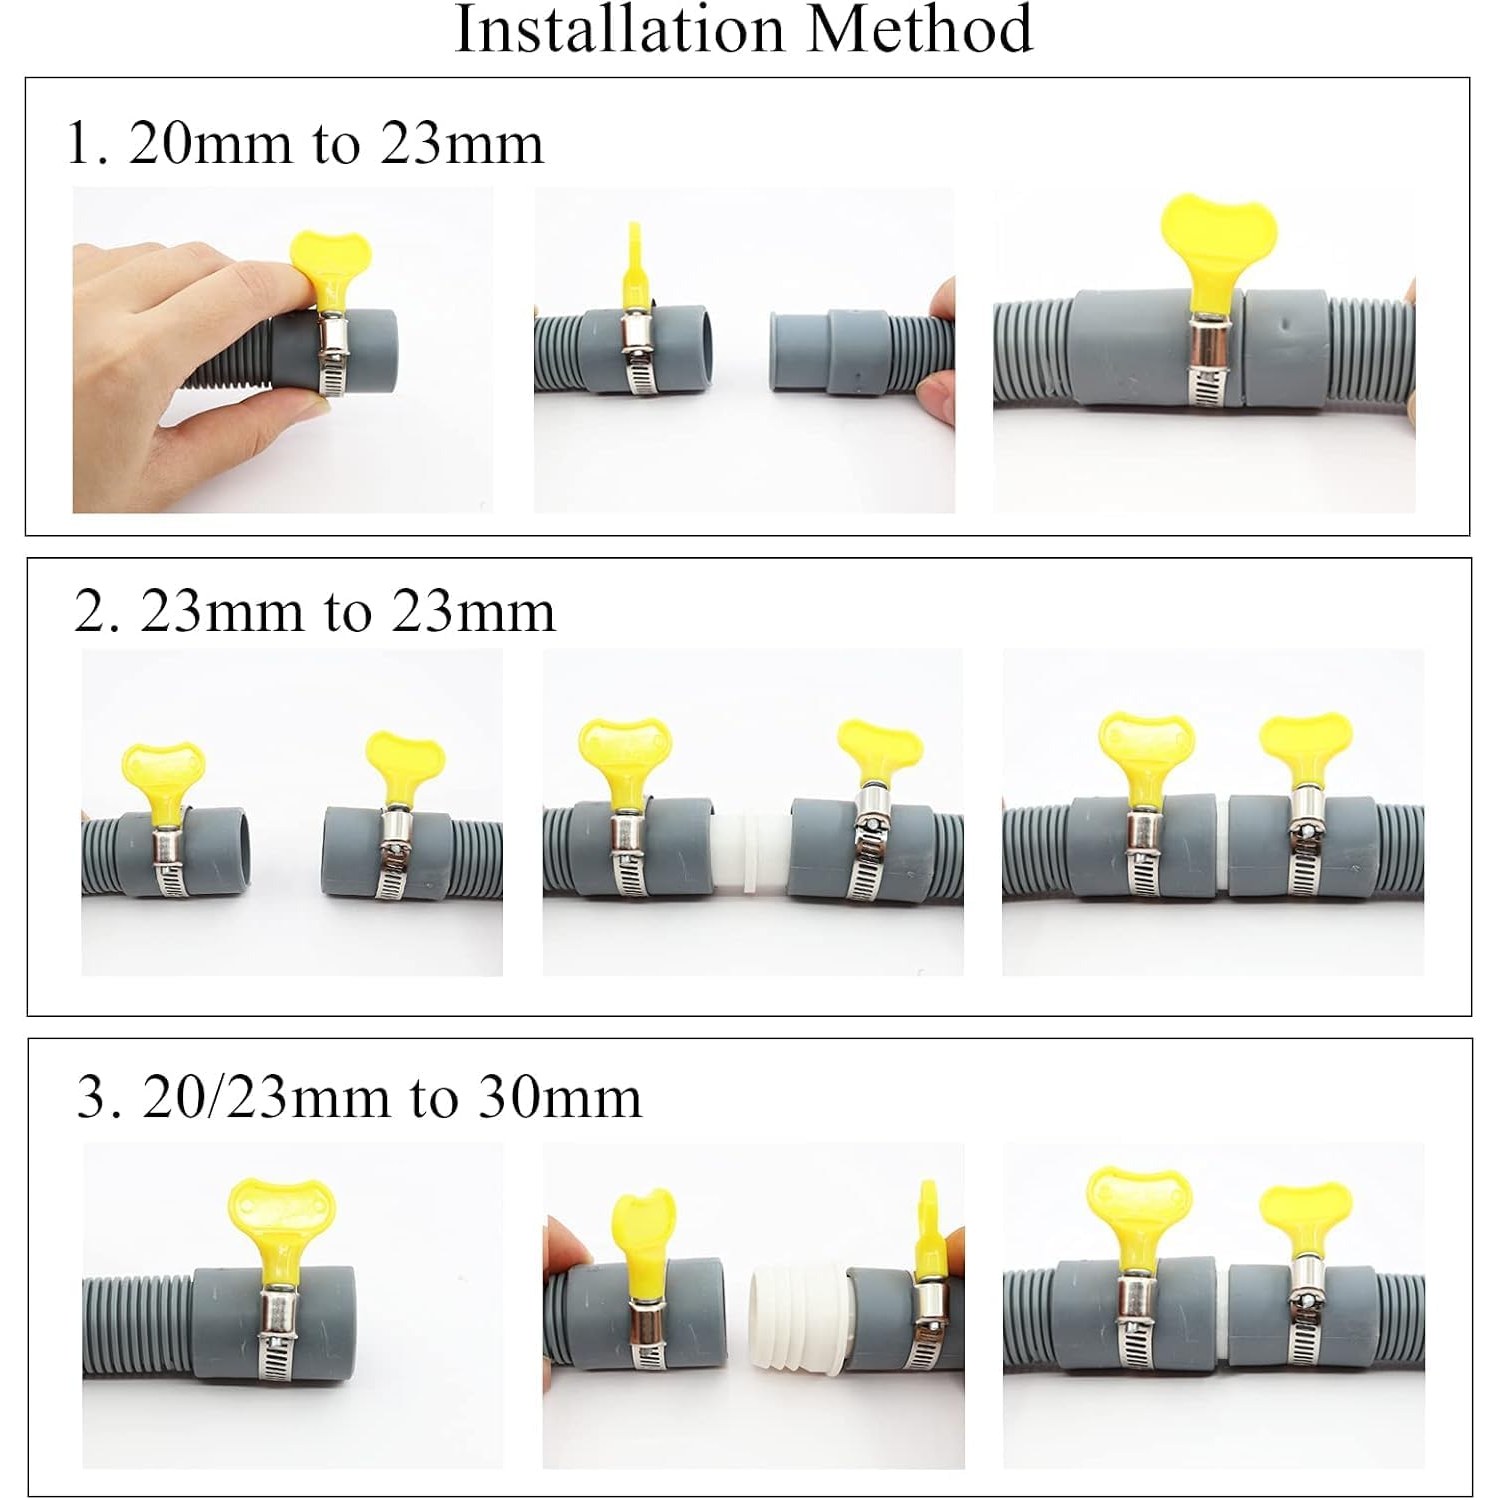
The first is to extend. You leave the original hose on the machine and join the new hose to the end of it. The maker says this can be done by inserting and connecting the connector, without removing the drain hose already fitted. It is the simpler route. The original hose is fixed inside the machine, sometimes behind a panel, and leaving it alone avoids opening anything up.
The second is to connect the new hose directly to the appliance outlet. The maker describes the hose end as connecting to the outlet without tools. Whether this suits your machine depends on how its outlet is made and what size it is. If you have any doubt, extend.
Fitting it
Switch the appliance off and unplug it. Pull it forward carefully, minding the water inlet hose and the cable. Put a towel on the floor and have a shallow tray or bowl ready, because the drain hose usually holds a little water.
Lift the old hose out of the waste and let it drain into the bowl. Wipe the end dry. Push the connector into the end of the old hose, then push the new hose onto the other half of the connector. Fit a hose clamp on each side of the joint and secure it. The type of clamp is not stated by the maker, so keep a screwdriver nearby in case you need one.
Route the new hose to the waste. Fit the U-shaped bracket near the end so the hose makes a smooth curve, and hook it into the standpipe, or connect it to the sink trap spigot with the 30mm adapter if that is the size required.
Push the appliance back slowly. Watch that the hose does not get trapped or folded behind it. Then run a short rinse and check each joint while the machine pumps out.
Getting the route right
This is where a long hose needs a little thought. A pump in a washing machine or dishwasher is small. It can only push water so far and so high.
Your appliance manual will state the longest drain hose allowed and the height range for the hose. Check both before you fit a 3m extension. If the total run is longer than the manual allows, the machine may drain slowly or stop with a fault.
Height matters as much as length. Most manuals ask for the hose to rise to a set height before it goes into the waste. If the hose lies low all the way, water can siphon out of the drum in the middle of a wash. If it rises too high, the pump struggles. Follow the figures for your own machine.
Keep the route simple. Gentle curves are fine. Sharp bends and long sagging loops are not, because lint and grease settle in the low spots. Clip the hose to the wall or the back of the units if you can, and keep it away from hot surfaces and sharp edges.
Mistakes worth avoiding
A few things go wrong often enough to mention. The first is joining hoses with tape. Tape holds for a week and then lets go in the middle of a spin. Use the connector and a clamp on each side of it.
The second is pushing the hose a long way down the standpipe and sealing round it. The end should sit in the top of the pipe with air around it, as your manual shows. A sealed, deeply inserted hose is a common cause of siphoning and smells.
The third is leaving the joint where you cannot see it. If you can, place the join where it stays within reach once the machine is back, such as inside the next cupboard. Then a quick look now and again tells you all is well.
Where the water is allowed to go
Waste water from a washing machine or dishwasher belongs in the foul drain. In a house, that normally means a standpipe with its own trap, or the appliance spigot on a sink trap.
It should never be run to a rainwater pipe or a surface water gully outside. Those lead to different drains, and soapy water does not belong there. If you are not sure which drain a gully serves, ask a qualified plumber.
If a suitable waste is already in place, connecting a hose to it is ordinary household work. If there is no waste where you need one, that is different. Fitting a new standpipe, a trap or a branch into the waste pipe means altering fixed pipework. That is a job for a qualified plumber, and the Irish Building Regulations apply to drainage work.
If the standpipe overflows when the machine pumps out, the hose is not the problem. The waste pipe is partly blocked. Clear it with a plunger or a drain snake, and if several fittings are slow at once, call a plumber. A blockage in a public sewer is a matter for Uisce Éireann or your local authority.
Looking after it
A drain hose needs very little. Check the joints for drips after the first few washes, then a couple of times a year. Clamps can settle as the plastic beds in, and a quick look catches a weep before it becomes a puddle.
When you pull the machine out to clean behind it, wipe the hose down and check that it has not been pushed into a kink. If the machine ever starts draining slowly, look at the hose route first, then the filter on the machine, then the waste.
The short version
This kit contains a 3m polypropylene drain hose, an extension connector, a 30mm adapter, a U-shaped bracket and two hose clamps. The maker states the hose ends are 20mm and 23mm inside, and the connector suits a 20mm hose.
Measure your existing hose and your waste before you order. Check your appliance manual for the hose length and height it allows. Join the hoses, clamp the joint, route the hose in gentle curves, and test for leaks. Send the water to the foul drain only, and call a qualified plumber if a new waste connection is needed.