
The complete guide
How To Choose And Use A Toilet Plunger At Home
The blockage nobody plans for
A blocked toilet never picks a good moment. It happens when visitors are in the house, or late on a Sunday, or five minutes before the school run. The water rises instead of falling, and suddenly it is the only thing anyone can think about.
Most of the time the cause is ordinary. Too much paper went down in one go. A wipe that should have gone in the bin went down the pan instead. The soft mass has lodged in the bend behind the pan, and the water cannot get past it.
That kind of blockage does not need a call-out. It needs a plunger, a pair of gloves and a few calm minutes. The trouble is that most homes only discover they have no plunger at the exact moment they need one.
This guide covers what this plunger is, how to use one properly, and when to stop and get help.
What you get
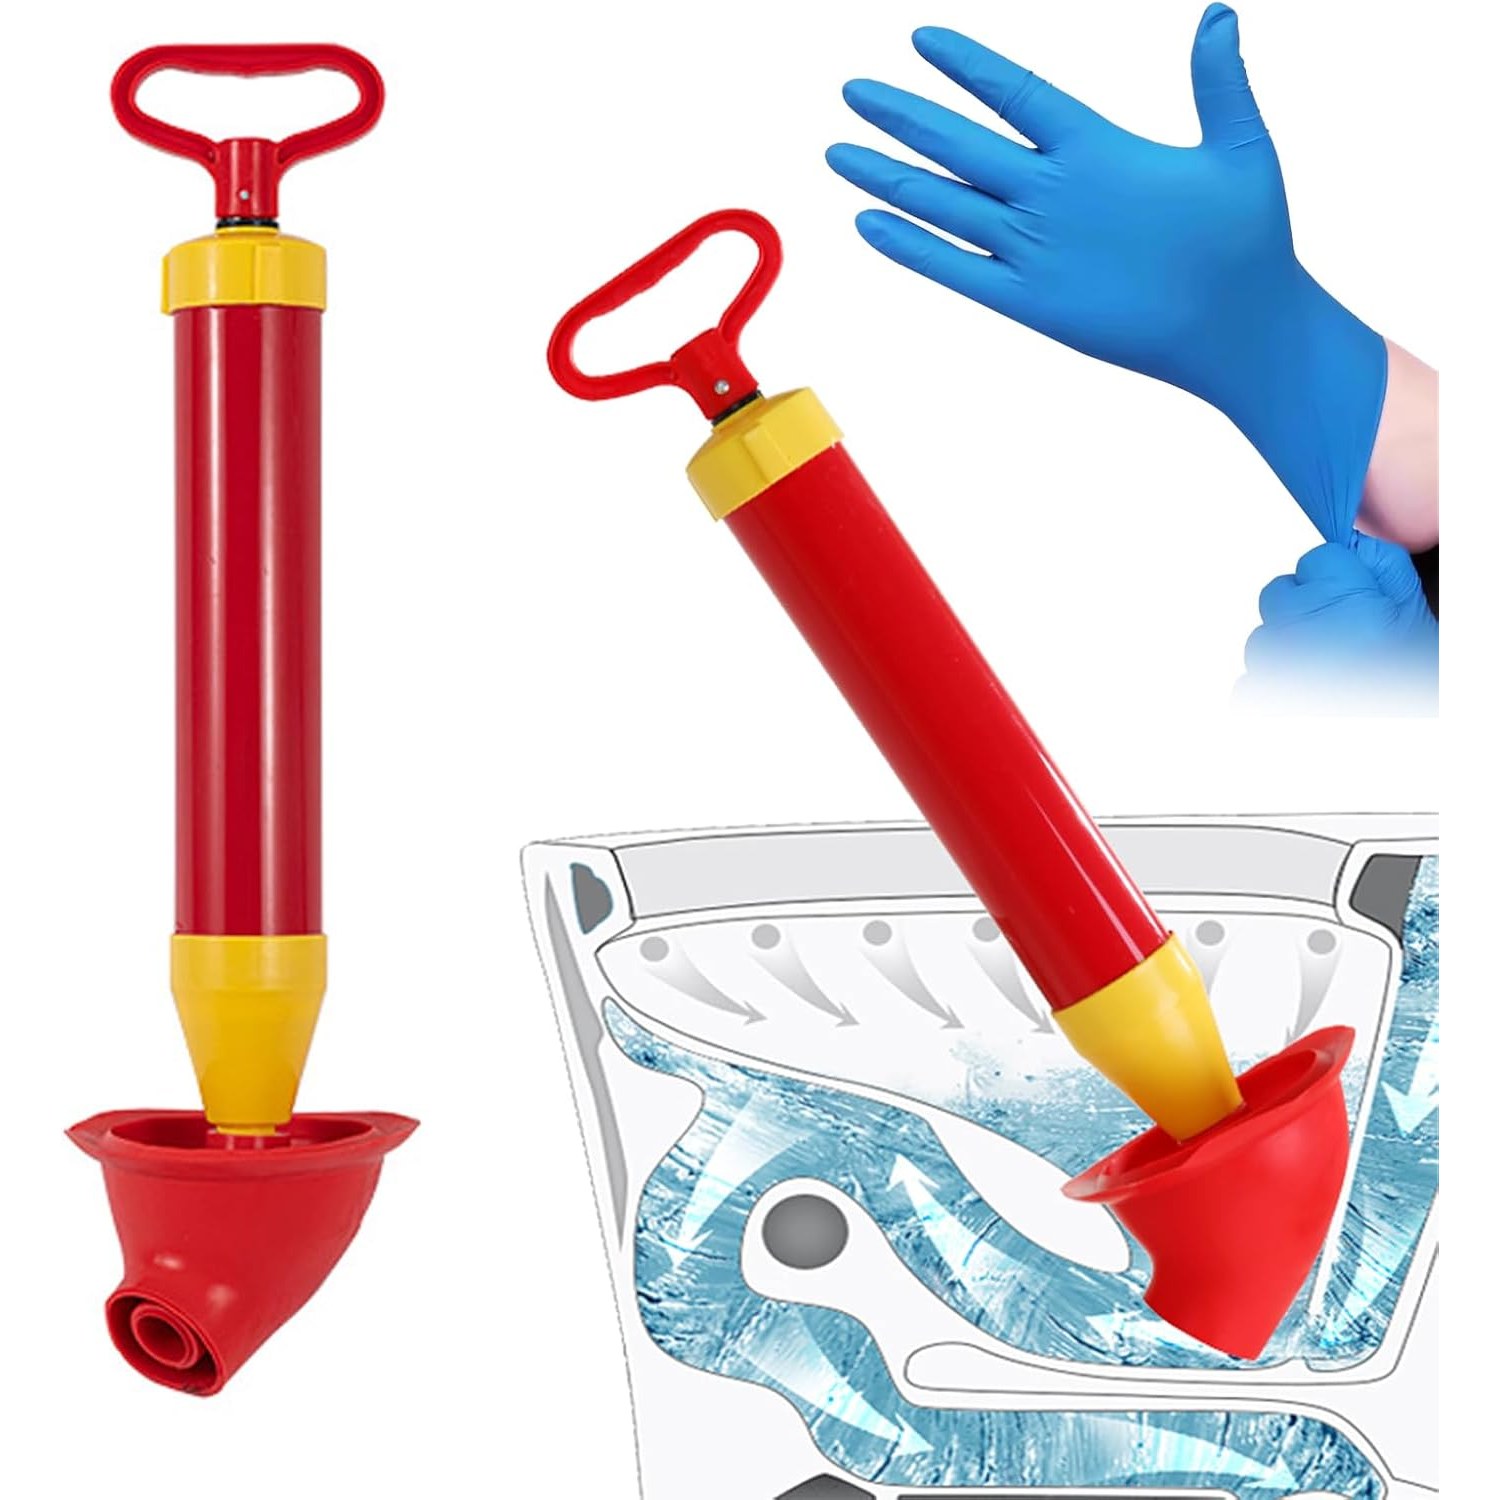
This is a hand plunger with a widened rubber cup and a handle that fixes to the cup with a screw thread. Nitrile gloves are included in the pack.
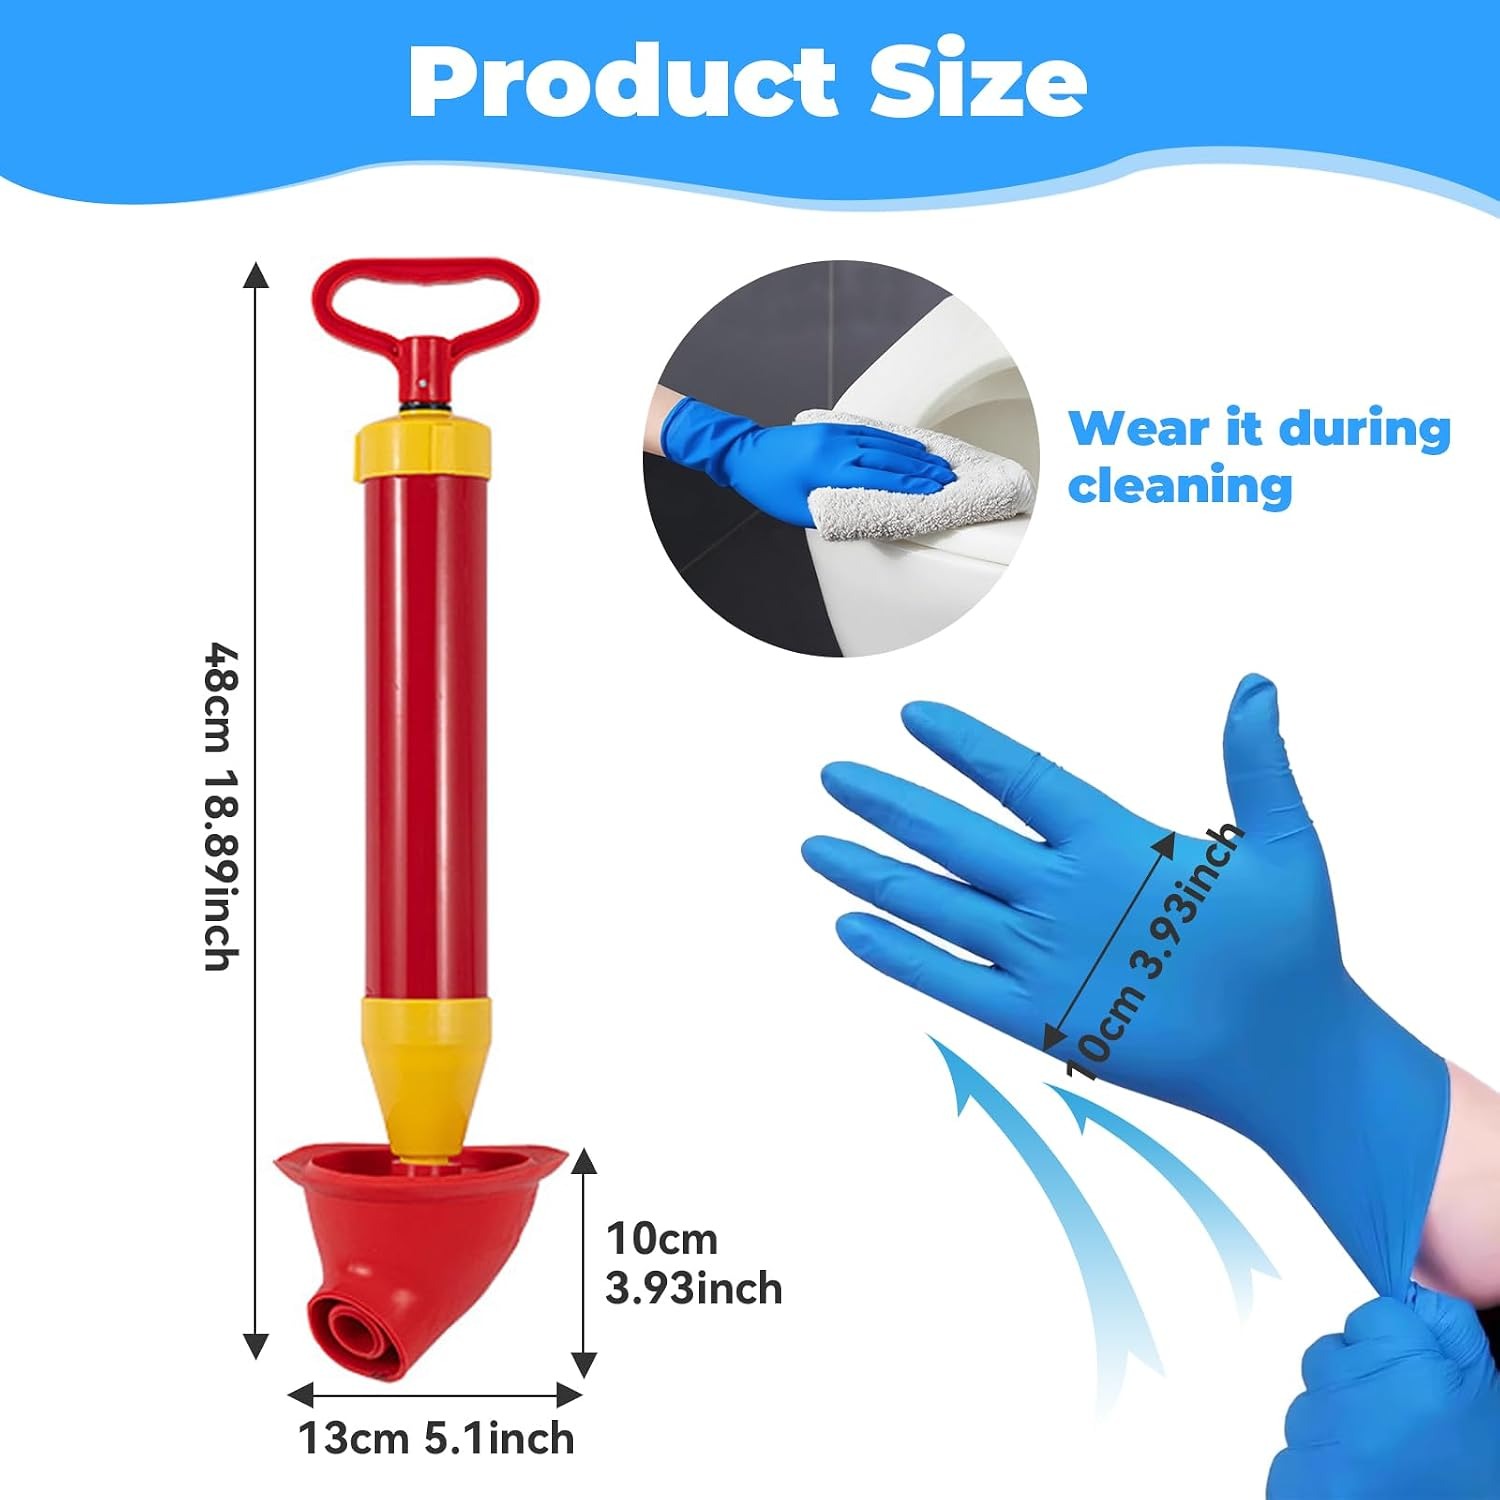
The maker describes the materials as PP rubber and stainless steel, and lists the colour as red. There is a hanging hole so it can be stored on a hook. The package measures 41.7 x 17.4 x 7.5 cm and weighs 370 g.
Some details are not stated by the maker, and it is fairer to say so than to guess. The diameter of the cup is not given. The handle length on its own is not given. The number of gloves and their size are not given either. If one of those points matters for your bathroom, ask us before you order.
How a plunger really works
People often think a plunger works by pushing the blockage down the pipe. It does not, or not mainly. It works by moving water.
Water does not compress. When the cup is sealed over the outlet and you push the handle, the water below it has nowhere to go except against the blockage. When you pull, it is drawn back the other way. Push, pull, push, pull. That rocking motion loosens a soft clog the way you might work a stuck drawer free.
Two things follow from this. First, the cup must be under water. A plunger full of air just squashes the air, and very little force reaches the clog. Second, the seal matters. If water or air leaks out around the rim, the force leaks out with it.
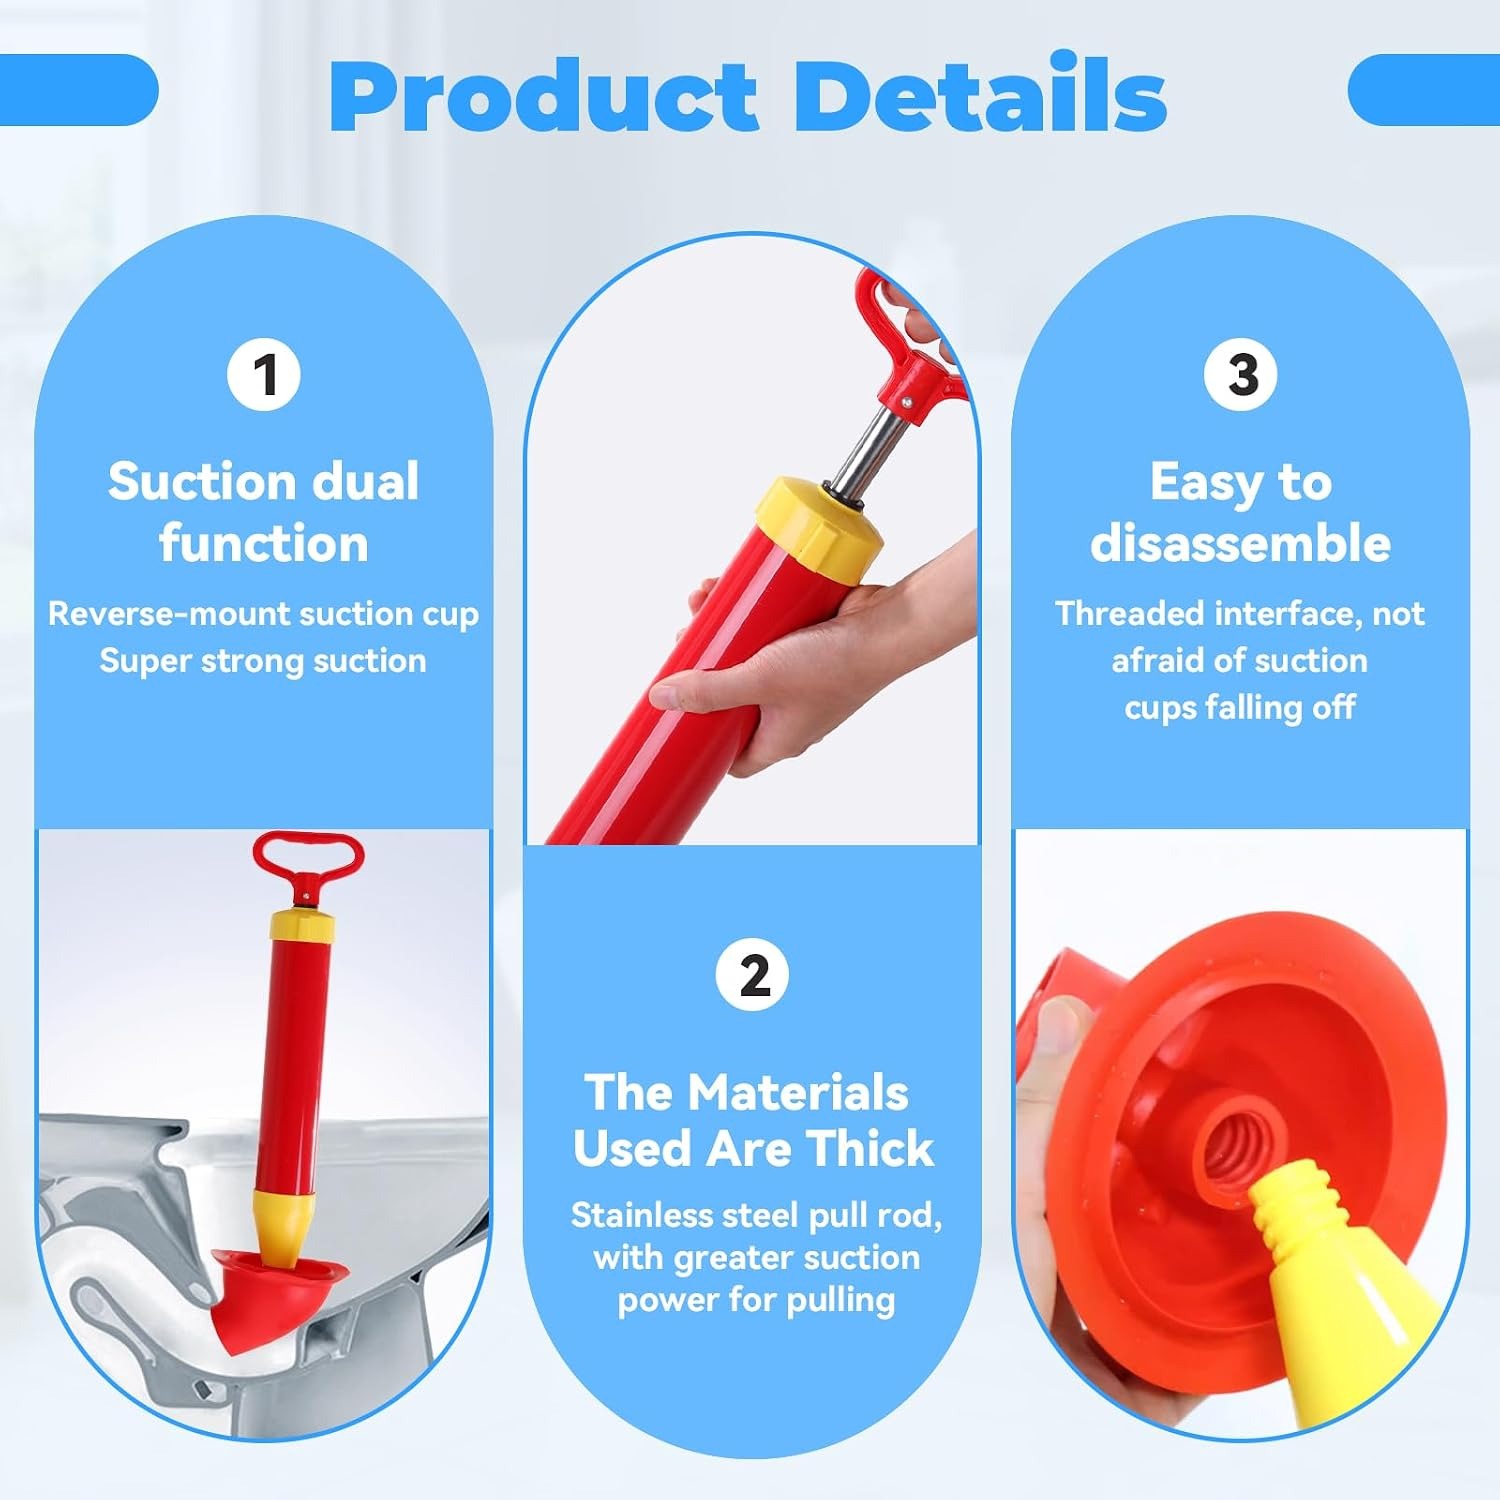
That is the reason for the shape here. The maker describes a widened cup with a curved plug, shaped to increase the contact area with the drain outlet. A cup that meets the outlet well puts more of your effort into the pipe and less into the room.
Why the handle joint matters
On a cheap plunger the handle is often just pressed into the cup. It holds on the push. Then on a firm pull it pops out, and you are left holding a stick while the cup sits in the pan.
This one uses a threaded joint. The handle screws into the cup, so it is held in both directions. Since the pull stroke does at least half the work, that is a practical detail and not a gimmick.
It is still a thread, and threads can work loose. Give the handle a quick twist before each use to check it is snug.
Using it on a toilet
Start by protecting the floor. Lay old towels or newspaper around the base of the pan. Put on the gloves.
Look at the water level. If the pan is close to the rim, do not flush again. Wait a few minutes to see if it falls, or bail some out into a bucket. If the pan is nearly empty, add water from a bucket until the cup will be covered.
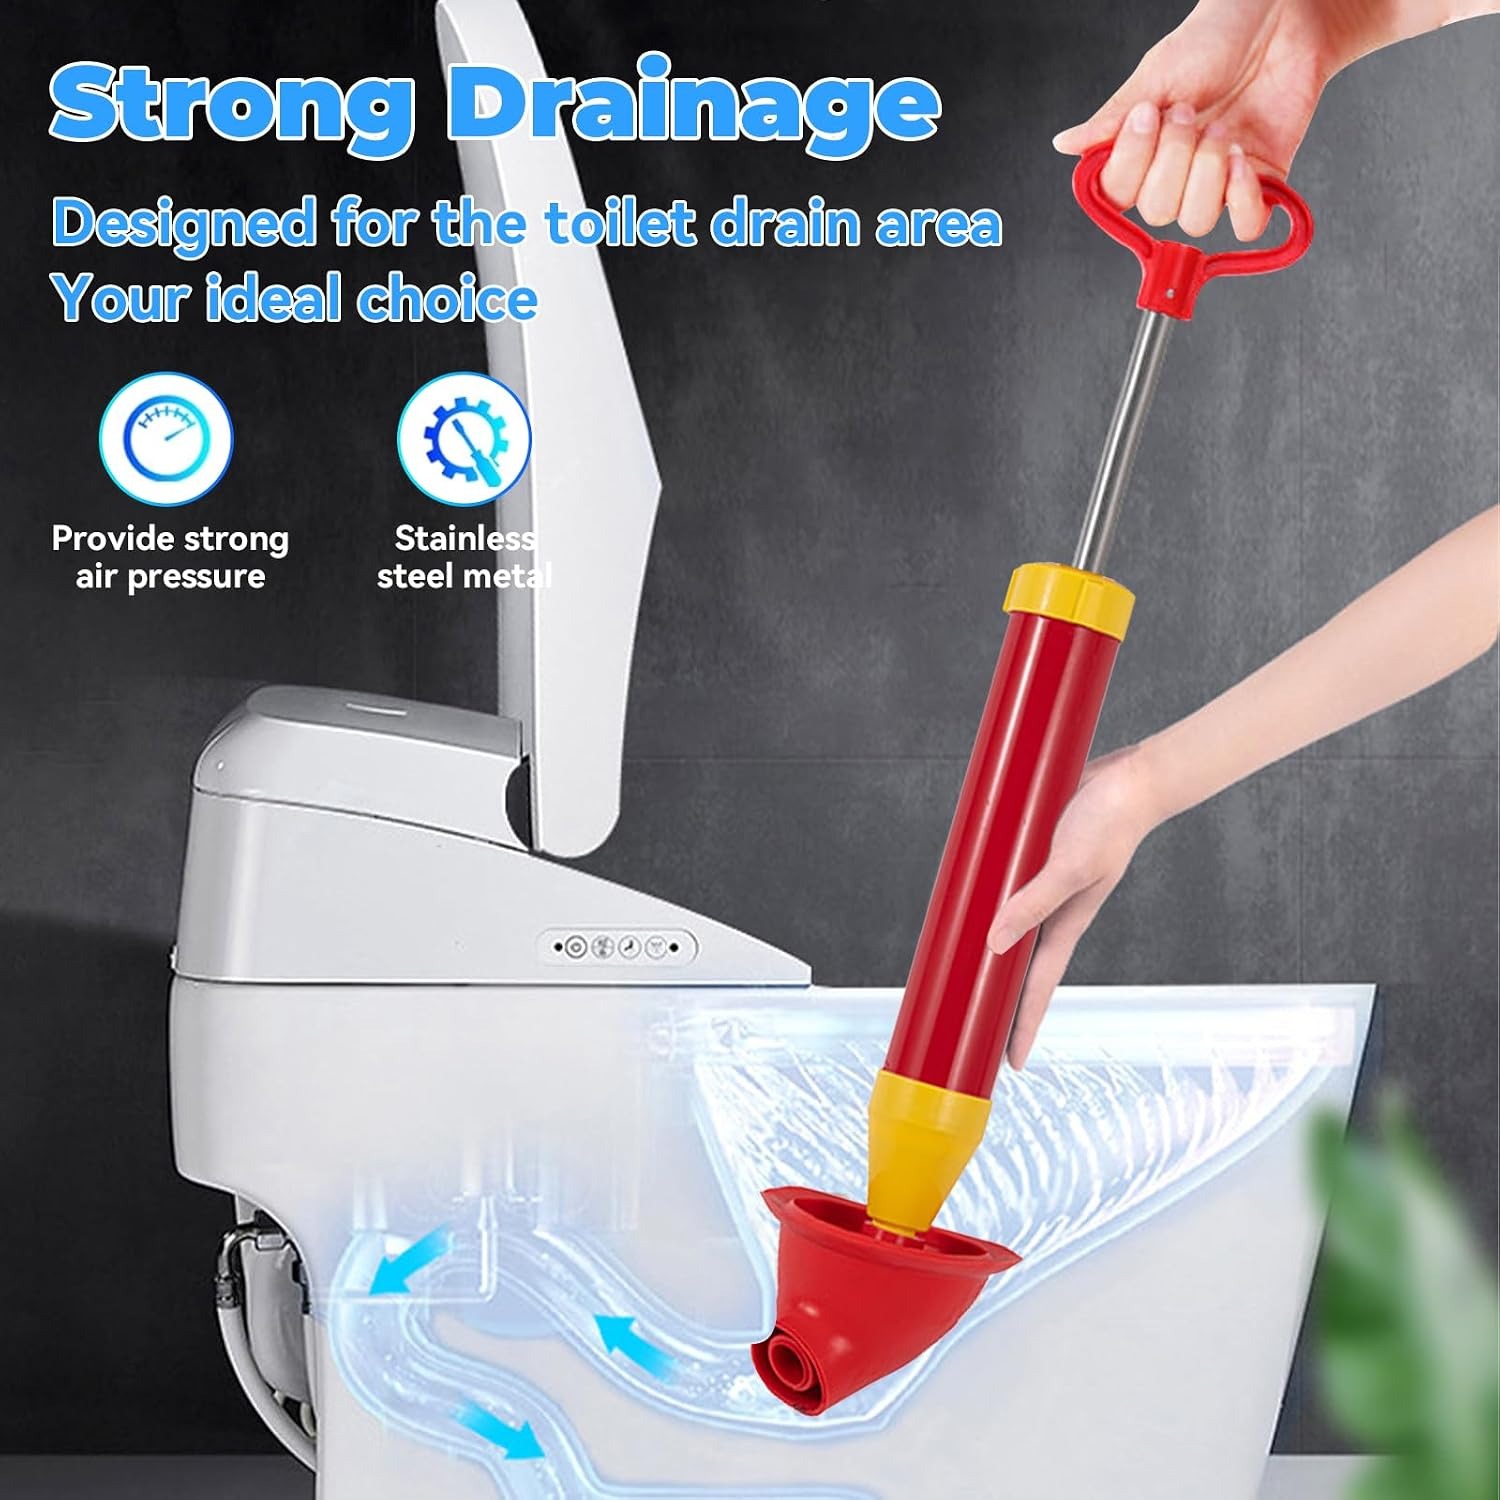
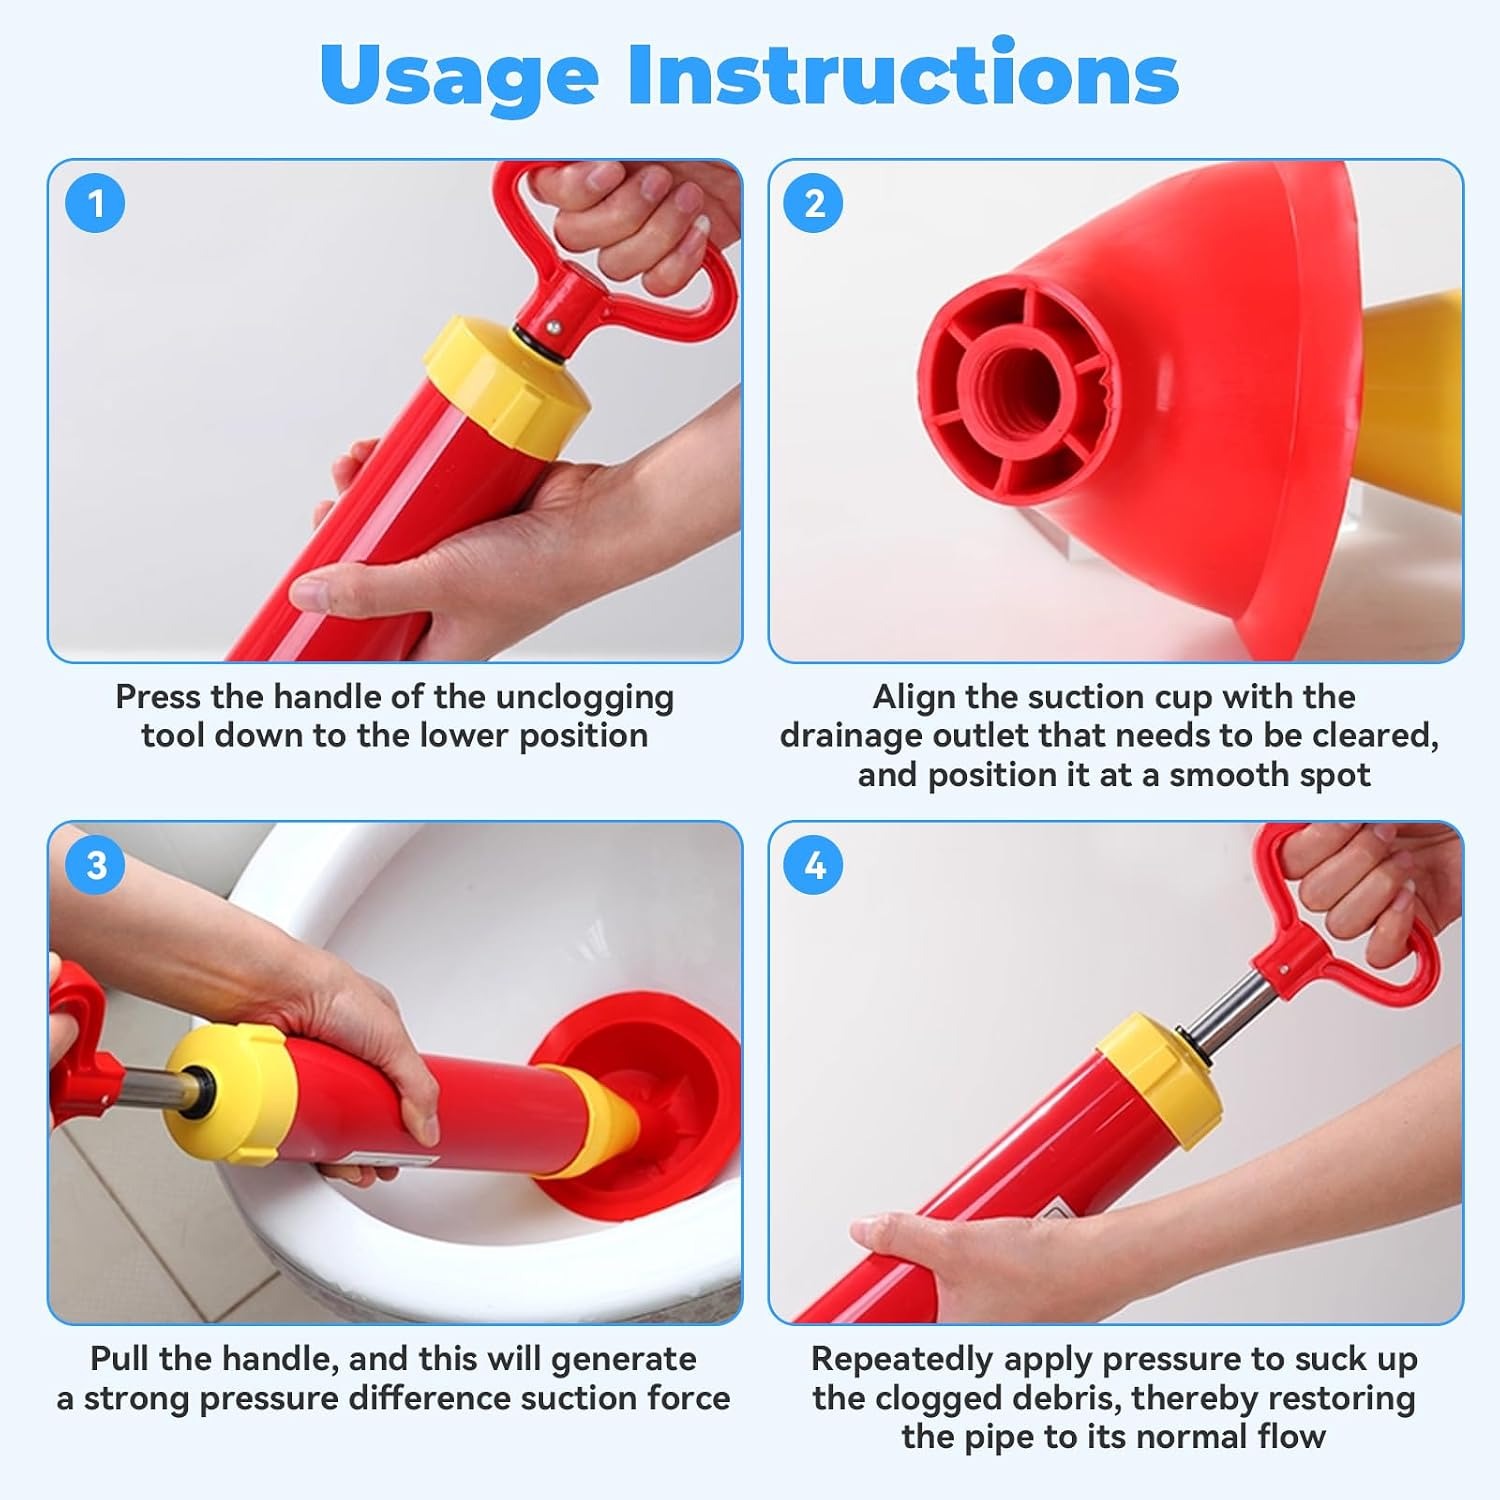
Lower the plunger in at an angle so the cup fills with water and not air. Seat it over the outlet at the bottom of the pan. Press down slowly on the first stroke. This pushes out any trapped air without sending water over the rim.
Now work the handle with a steady rhythm, pulling as firmly as you push. Keep the seal. Fifteen to twenty seconds is a good round. Then lift the cup away and watch. If the water drops with a gurgle, the clog has moved.
Often it takes two or three rounds. Rest between them. When the level has dropped, flush once and be ready to stop the flow if the water rises again. On most cisterns you can do that by lifting the lid and raising the float by hand.
Using it on a basin, sink or shower
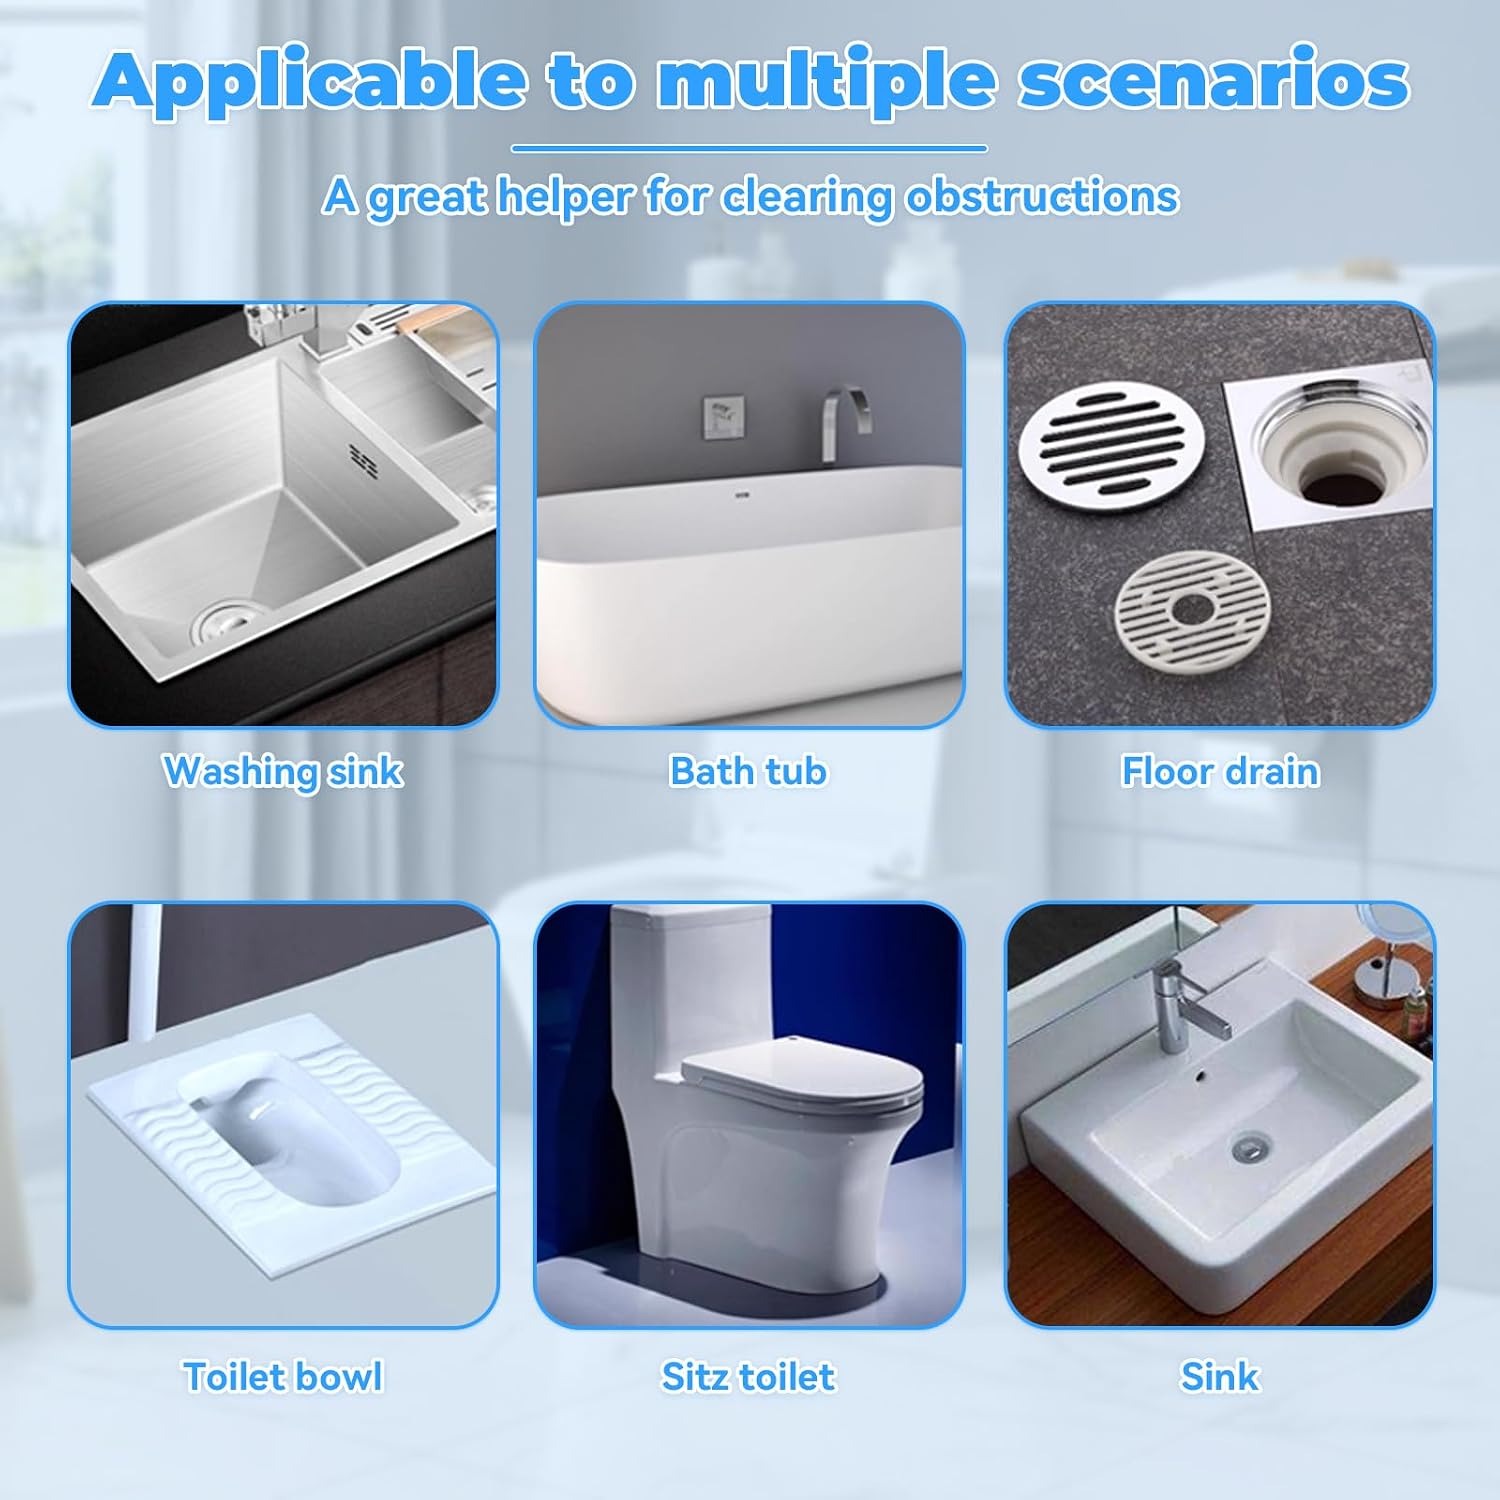
The maker says this plunger can be used on sinks and showers as well as toilets. The method is much the same, with one extra step.
Most basins and baths have an overflow hole near the top. If you leave it open, the pressure you make with the plunger escapes through it. Hold a wet cloth firmly over the overflow while you plunge. On a double kitchen sink, plug the second bowl for the same reason.
Run a few centimetres of water into the bowl so the cup is covered. Seat the cup over the plughole and work it as before. A shower tray has no overflow, so you only need enough water to cover the cup.
One plunger or two?
This is a hygiene question more than a technical one. A plunger that has been in a toilet should not then go into the sink where you wash vegetables.
The simple rule is one plunger per job. Keep one in the bathroom for the toilet, and a separate one under the kitchen sink. If you own only one, decide where it lives and keep it there.
What a plunger cannot do
A plunger is for soft blockages close to the fixture. It is not the answer to everything.
It will not bring back a solid object. If a child has flushed a toy, or a plastic air freshener has dropped into the pan, plunging can drive it further into the pipe. Stop if you suspect something solid.
It will not fix a problem further along. If the toilet, the bath and the basin all drain slowly together, the blockage is in a shared pipe or outside the house. That needs a qualified plumber. If the trouble is in the public sewer, it is a matter for Uisce Éireann or your local authority.
And it should never be used with chemical drain cleaner in the pan. We do not recommend those products at all. Plunging a bowl that has chemicals in it can splash the liquid onto your skin and into your eyes.
Any job that means altering fixed pipework, such as taking a toilet off its connection, belongs to a qualified plumber. The Irish Building Regulations apply to drainage work.
Cleaning and storing it
Once the toilet flushes freely, flush again and hold the cup in the clean water as it runs. Swirl it about to rinse it. Shake off the drips over the pan.
Do not put it away wet in a closed cupboard on its base. Use the hanging hole. A plunger that hangs can drip dry, and the cup keeps its shape because it is not resting on its rim.
Take the gloves off by peeling them from the wrist so they turn inside out. The maker does not say whether they are meant for single use, so check them for tears before you use them again. Wash your hands well either way.
Choosing a plunger in general
If you are comparing plungers, a few points are worth checking on any of them.
Look at how the handle joins the cup, since a threaded joint is harder to pull apart than a push fit. Look at the cup shape, because a toilet outlet is not flat like a sink, and a cup that follows the curve seals better. Check whether there is a way to hang it. And think about where it will live, because a tool you cannot find is no use at midnight.
This one covers those points with its threaded handle, widened cup with curved plug, and hanging hole. The gloves in the pack are a small extra that saves a search.
The short version
Most blocked toilets are a soft clog in the bend behind the pan. A plunger clears them by rocking the water back and forth, so the cup needs to be under water and sealed over the outlet.
This plunger has a widened rubber cup, a handle that screws on, a hanging hole and nitrile gloves in the pack. The maker lists PP rubber and stainless steel as materials and red as the colour. Cup size, handle length and glove count are not stated by the maker.
Start gently, pull as hard as you push, and rinse it when you finish. If the blockage is solid, keeps coming back, or affects more than one fixture, call a qualified plumber.